- Bare-Metal Deployment Hyper-V host with VMM 2012R2 Part1 – Introduction
- Bare-Metal Deployment Hyper-V host with VMM 2012R2 Part2 – Prepare Networking
- Bare-Metal Deployment Hyper-V host with VMM 2012R2 Part3 – Prepare OS deployment
- Bare-Metal Deployment Hyper-V host with VMM 2012R2 Part4 – Hyper-V host provisioning
To finish this series of articles about Bare-Metal Deployment Hyper-V host with VMM 2012R2, I present you the provisioning of a new server with the previous configuration. First it is necessary to configure the BMC interface to enable IPMI and IP Address. Next the provisioning can start.
Enable IPMI on host server

On my old Dell 1950 I have to enter in iDRAC utility and enable IPMI as above. Note that this configuration could be performed automatically with SCCM and Dell integration pack. HP provides the same thing. These integration packs enable to set the BIOS, the Raid Controller (building of RAID configuration) and the BMC interface.
I set the IP address of the BMC controller to 192.168.1.31/24.
Hyper-V host provisioning
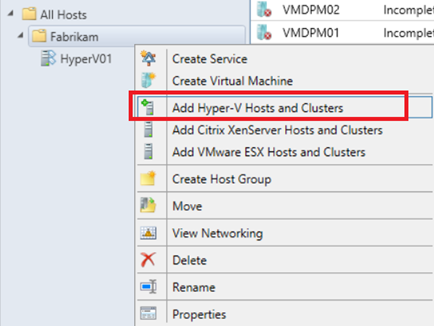
So it’s time to validate all the configuration performed previously. Open VMs and Services tab, and right click on a host group to select Add Hyper-V hosts and Clusters.
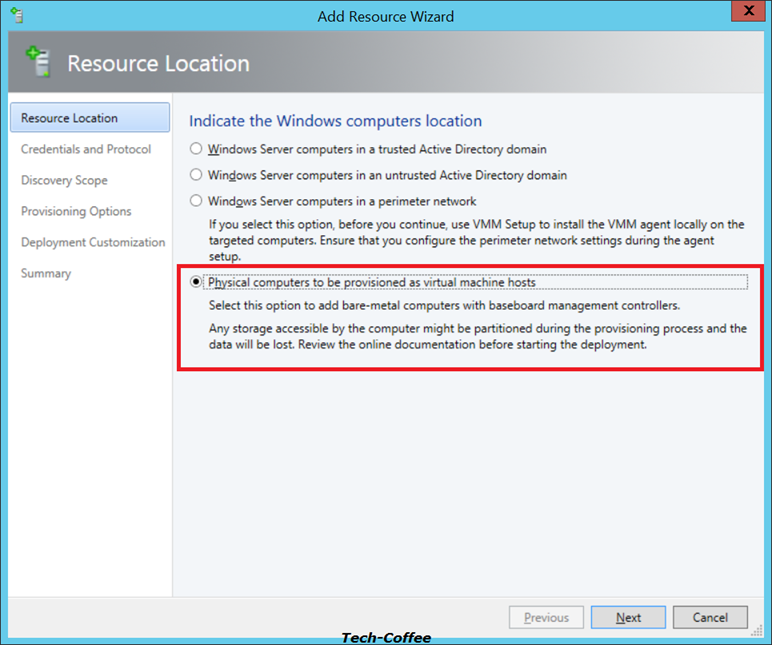
Select Physical computers to be provisioned as virtual machine hosts to start Bare-Metal deployment.
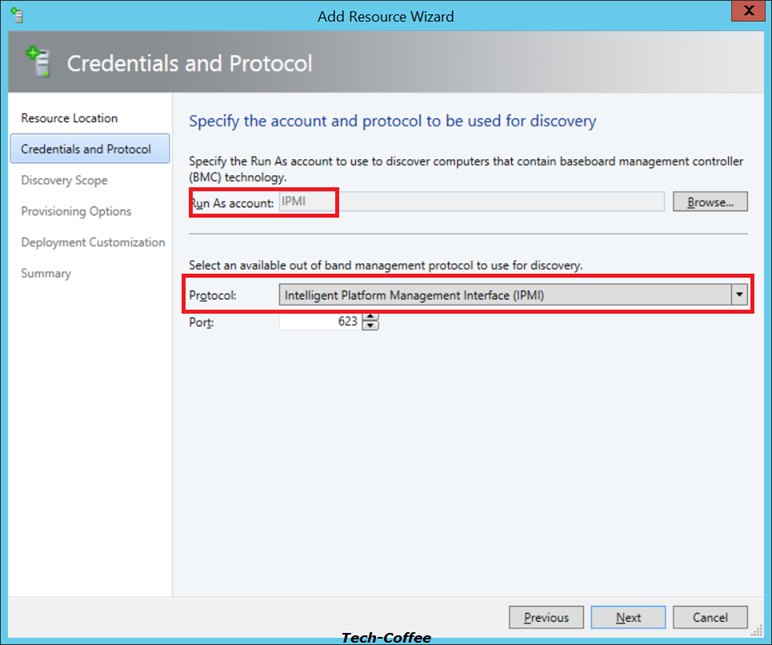
Select a Run As account that have right on your BMC. Note that accounts should not be validated in Active Directory on creation because this account does not belong AD. I select IPMI protocol.
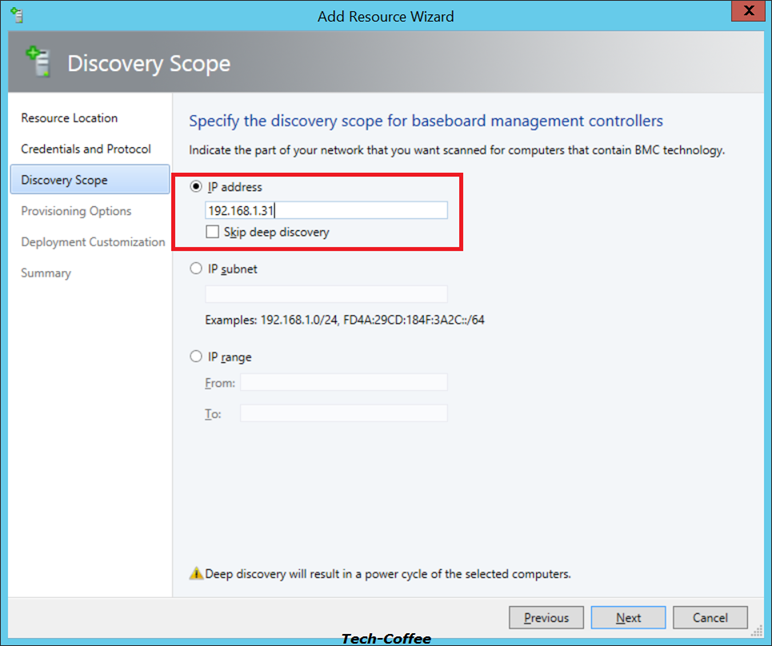
Specify a discovery scope to find your BMC. As I said previously, I have configured my BMC to 192.168.1.31 IP Address.
When the skip deep discovery checkbox is released (I recommend this parameter), the server that will be provisioned start (or restart if it is already power on). The power management is done via IPMI. Deep Discovery is performed when the WinPE image is loaded in memory by the system. Once deep discovery is performed, the system waits that provisioning begins.
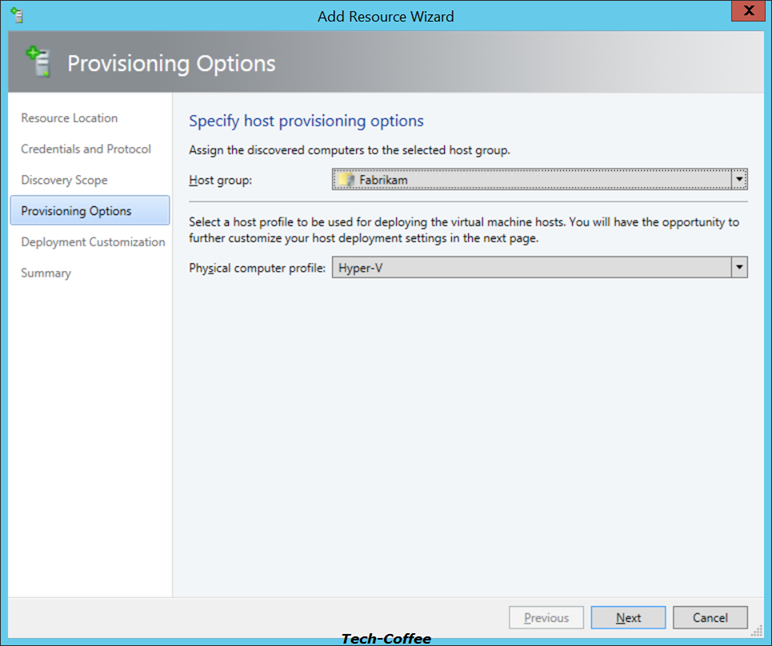
Select the host group and the Physical Computer profile. Mine is called Hyper-V.
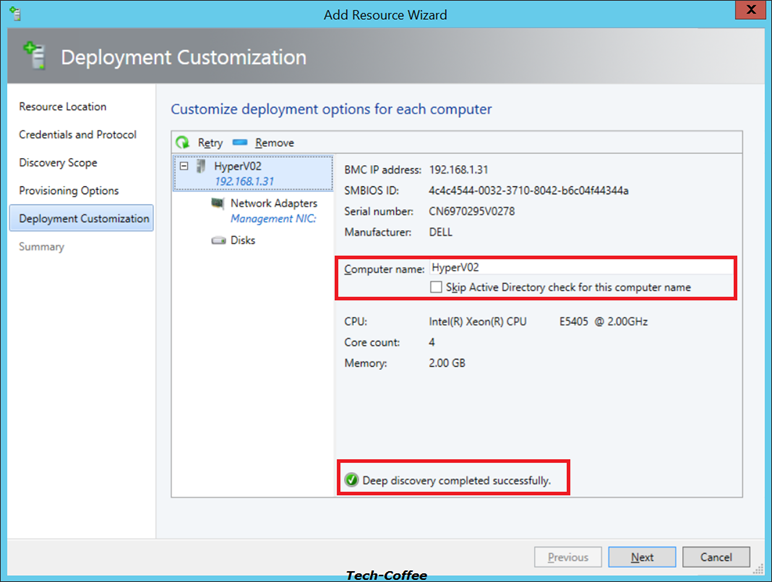
On Deployment Customization you can specify a computer name. Once deep discovery is completed successfully, Network Adapters should be discover even if CDN is not supported (like me).
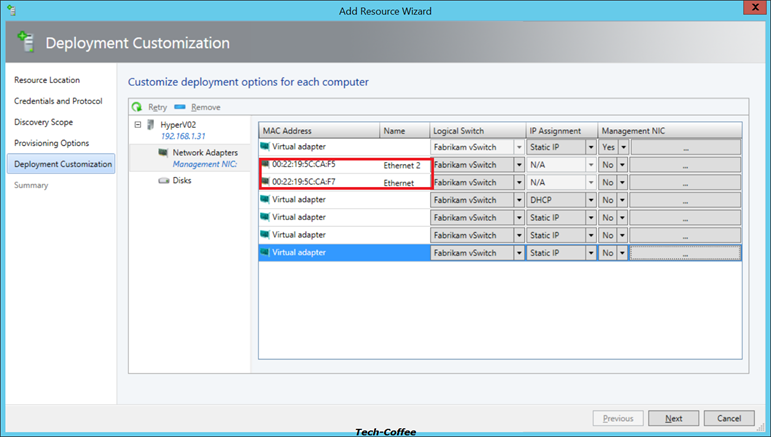
Network adapter configuration is performed related to the Physical Computer profile. On below screenshot you can see that my Physical NIC have been set automatically thanks to deep discovery.
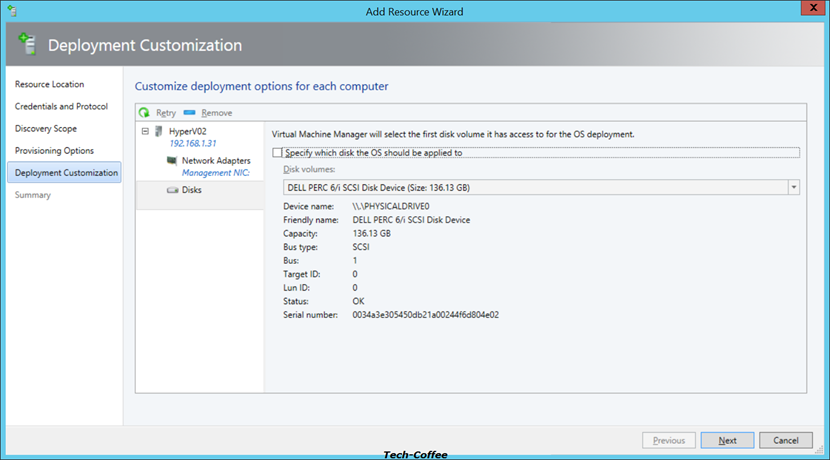
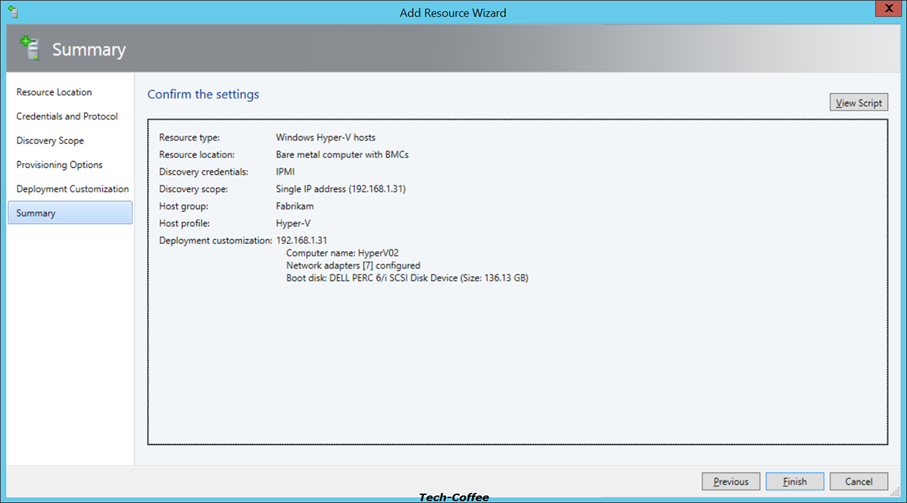
When you click on finish, the provisioning of Hyper-V host begin.
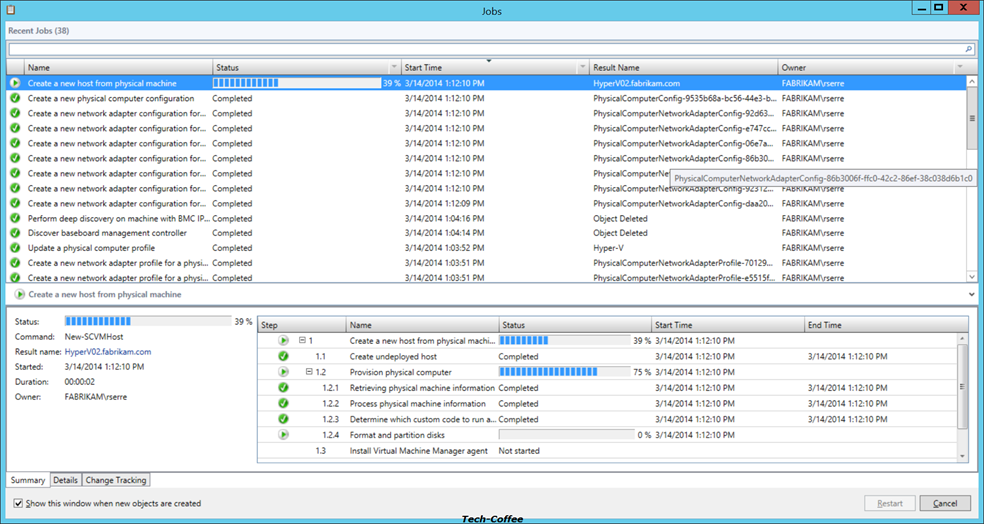
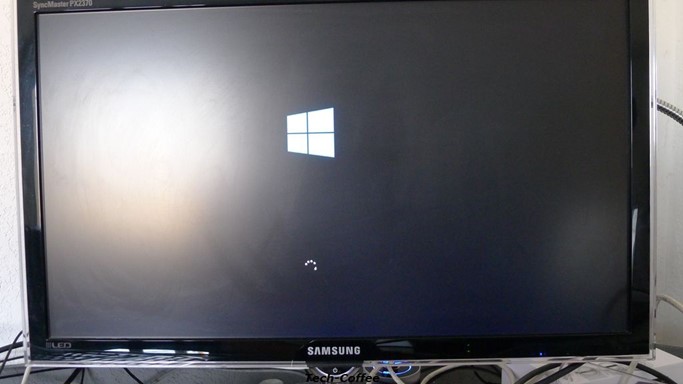

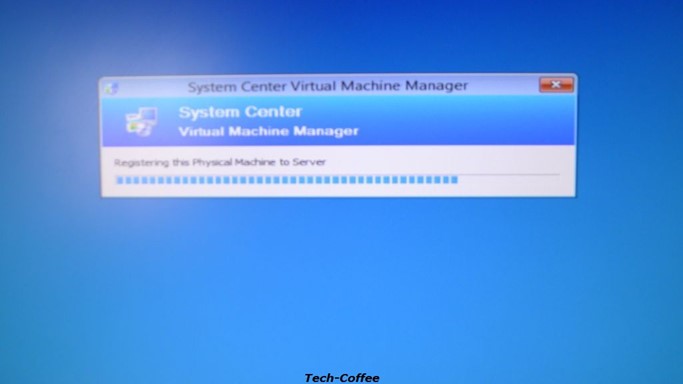
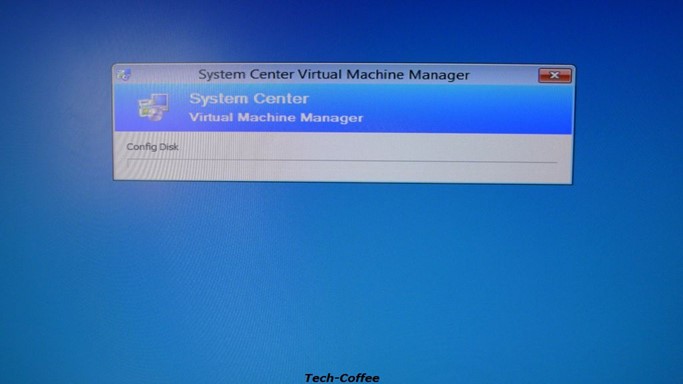
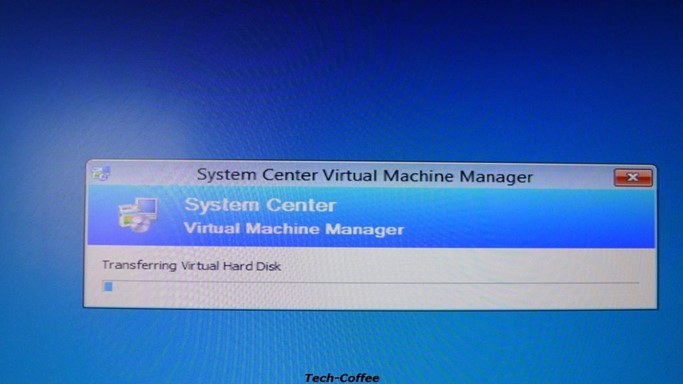
After some time the Operating System is ready and Hyper-V host server is ready to use.
Conclusion
Bare-Metal Deployment is a good technology for scalability in a virtualized environment. Thanks to BMR new Hyper-V server can be provisioned quickly and automatically that reduce human error. However the implementation in VMM is complex because the networking configuration in the fabric is not easy and needs some skills. Moreover, a baseline VHDX should be manage regularly to add Microsoft updates of last month for example. So in my opinion, when you have a small Hyper-V environment (less than 10 servers), I’m not sure that it’s worth it. But over 10 servers, I think the Bare-Metal deployment should be envisaged. Moreover, backup solution for Hyper-V host is no longer needed if you deploy new Hyper-V faster than backup restore it. This would save some storage space and reduce backup team workload.


