When Hyper-V is implemented in cluster, Cluster Shared Volumes (CSV) are required to store Virtual Machines. These shared volumes can be LUNs (iSCSI, FCoE, Fiber Channel and so on) or SMB shares (Scale-Out File Server). In this topic I will implement a shared storage from a QNAP NAS. Moreover QNAP provides an SMI-S provider so I will use it to create and assign LUNs from Virtual Machine Manager 2012R2.
Architecture overview
The storage architecture is really simple. I have created a network called Storage (10.10.1.0/24) and it is not routable. I have isolated the network with VLAN tagging.
The NAS is a QNAP TS-853Pro:
- CPU quad core
- 2GB of RAM
- 4x NIC 1GB
- QTS 4.1.3
- 8x Hard Drive enclosure
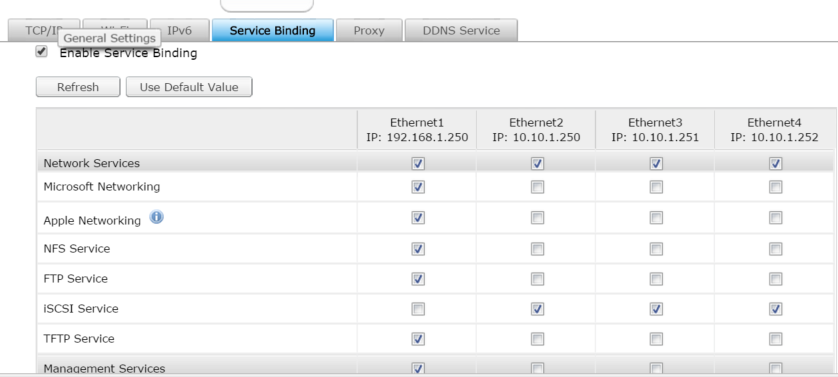
Three NICs are dedicated to the storage on the NAS and on each Hyper-V. The iSCSI target service is bound only to these three NICs. The last NICs is dedicated to the other service (SMB, Video Station, Download Station and so on).

I have eight Hard Drives in the NAS installed this way:
- Bay 1 & 2: Western Digital RED 2TB for entertainment (RAID 1);
- Bay 3 & 4: SSD Crucial BX100 256GB for cache acceleration;
- Bay 5 to 8: Seagate Constellation ES3 1TB (RAID 10).
Storage Pool and Cache acceleration
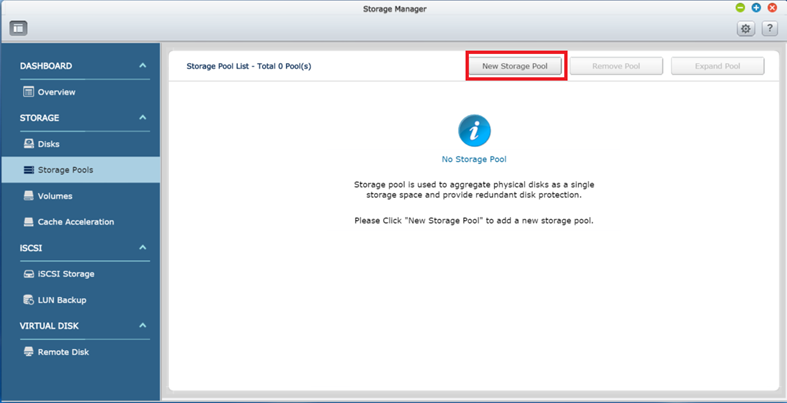
QNAP provides a feature called Storage Pool that enables to aggregates physical hard drives into a storage space by leveraging RAID protection. To create a storage pool on the QNAP, connect to QTS and open the Storage Manager. Navigate to Storage Pool tab and select New Storage Pool.
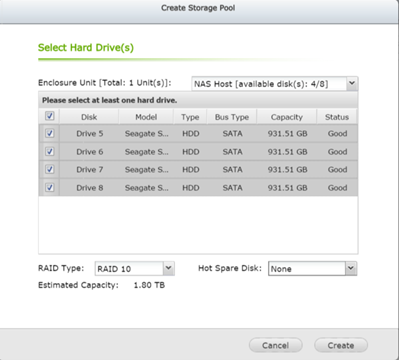
Then select the Hard Drives that will be members of the Storage Pool and choose a RAID Type. On my side, I have chosen RAID 10 for best performance in read and write operation.
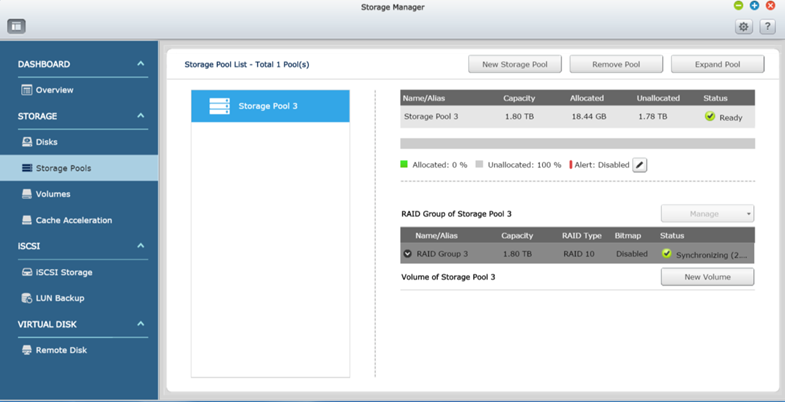
When you have clicked on Create, the Storage Pool is created and it should be in a Synchronizing state for a while.
Because four hard disks are not sufficient to have good performance, I use Cache Acceleration technology. This feature is usually called SSD cache. The operation is pretty simple: when a data is neither found in CPU or in RAM, the information is got from hard drives and copy to the SSD Cache. The next time this information will be asked, it will be got from the SSD cache. When the data is found in the SSD cache, it is called a Hit. So, more the hit rate is high, more the system will be fast.
In QNAP implementation, there are two cache algorithms:
- LRU (Least Recently Used): Higher HIT rate but requires more CPU resources;
- FIFO (First In First Out): Requires less CPU resources but lower HIT rate.
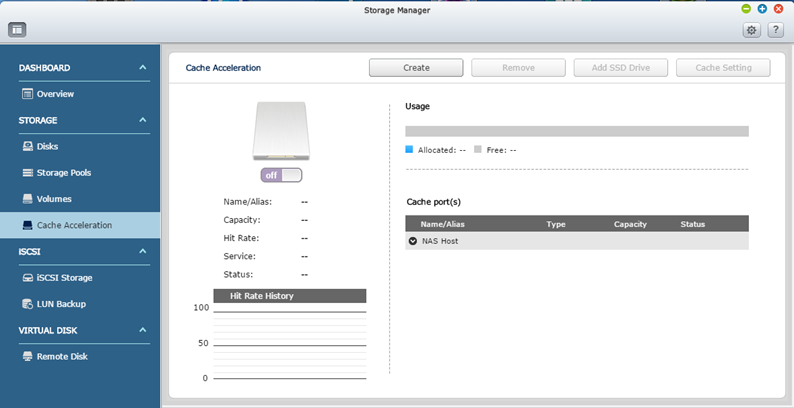
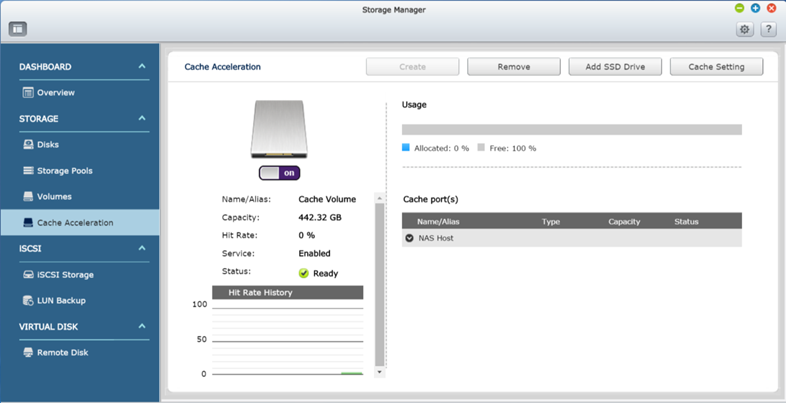
To implement the Cache Acceleration, open the Storage Manager and select Cache Acceleration. Then click on Create.
Next I select my two SSD and I select LRU cache algorithm.
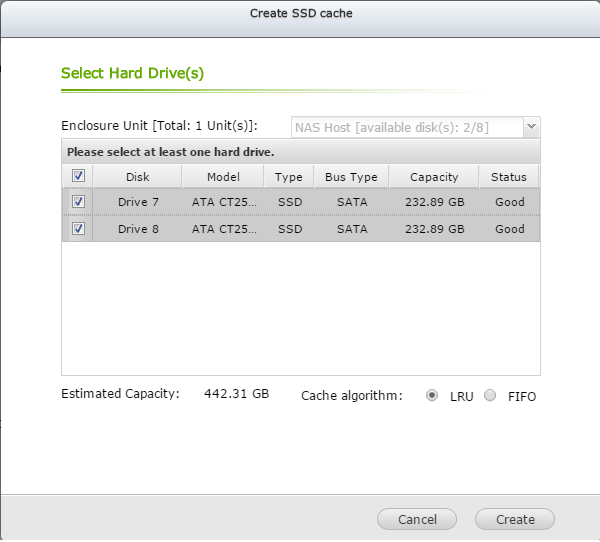
When you have clicked on create, the SSD cache is ready to serveJ.
Network Card configuration
NAS Side
Below you can find my network configuration on the QNAP NAS:

I have enabled Jumbo Frame on each storage interface and the VLAN number is 20. To finish, only the iSCSI Service is bound to storage interface:
Hyper-V host side
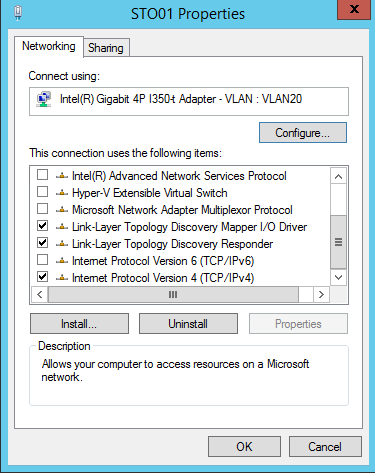
On Hyper-V host side, I have dedicated three NICs on the storage network. The Jumbo Frame is also enabled and I have set the VLAN number to 20.
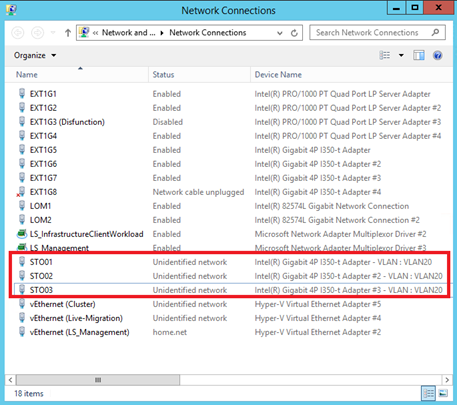
Only these items are enabled on Storage network interface. I have also disabled Netbios and DNS registration.
Implement SMI-S provider
Now it is time to implement SMI-S Provider. I have installed this provider on my both VMM servers. You can download the installer here. Before running the installation, I create a local account that I have called Storage and I have added it to local Administrators group.
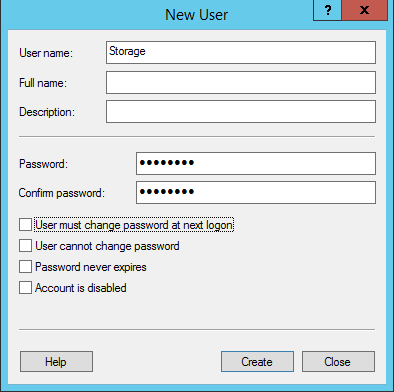
Then I run the installation.

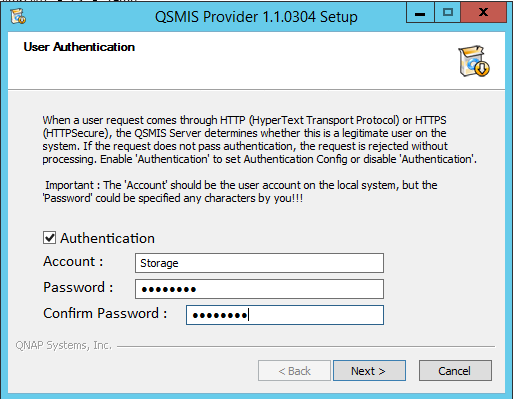
I have enabled the authentication by specifying the same account that I have created previously.
Once the installation is finished, you can open QNAP SMI-S Provider Manager. Then specify the IP address of your NAS, the port and click on Add.
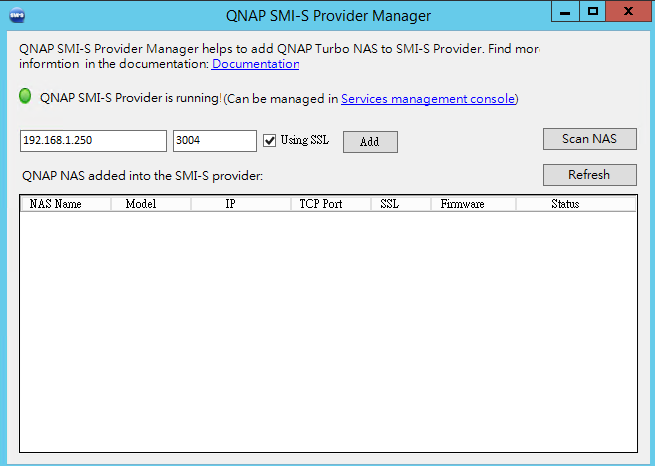
Next specify admin credentials.
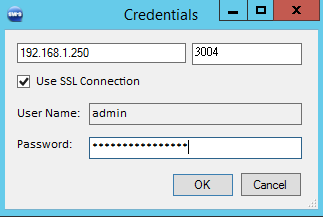
At the end you should have your NAS listed with OK status.
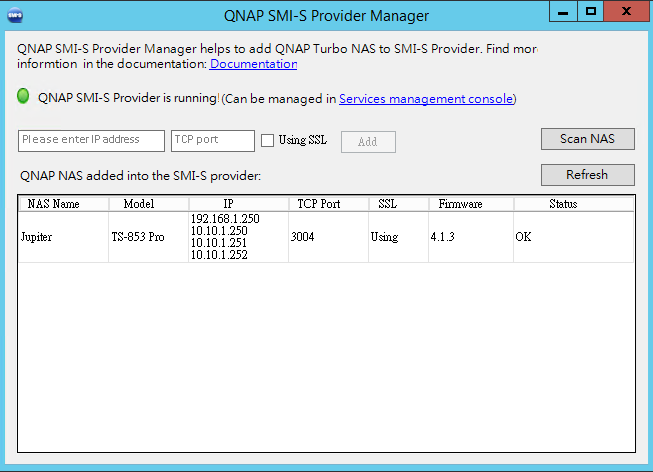
Because I have installed the SMI-S Provider on my both VMM servers, I have created a Round Robin DNS entry called SMIS-QNAP.home.net.

Add storage provider in Virtual Machine Manager
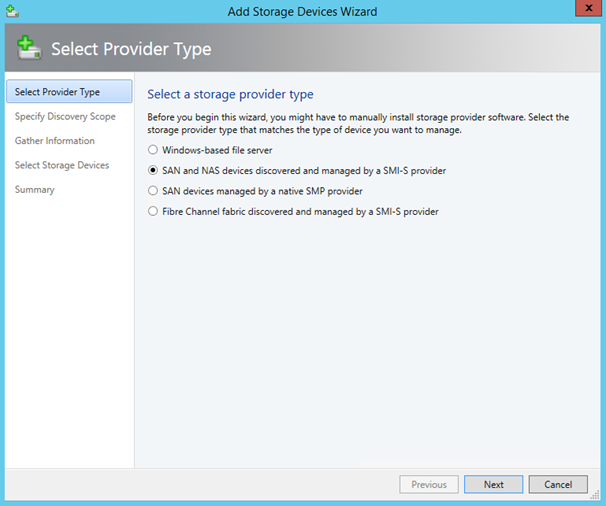
Now we can play with Virtual Machine Manager. Open a VMM console and navigate to the Fabric and right click on Provider. Then click on Add Storage Devices. Next select SAN and NAS devices discovered and managed by a SMI-S Provider.
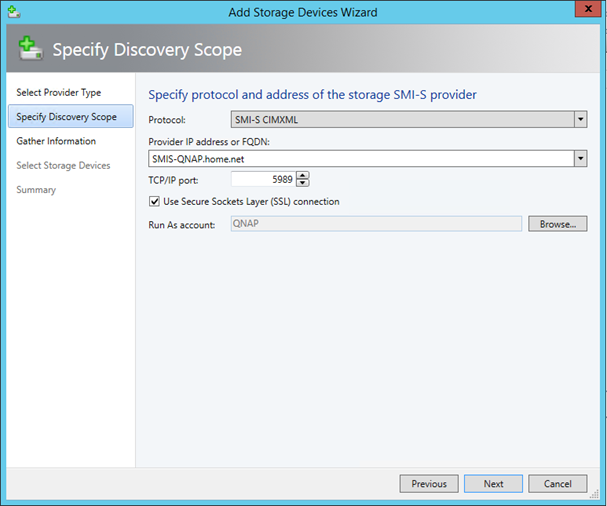
Specify the SMI-S provider FQDN and select a RunAs account. The RunAs account must be the same as specified during SMI-S provider installation.
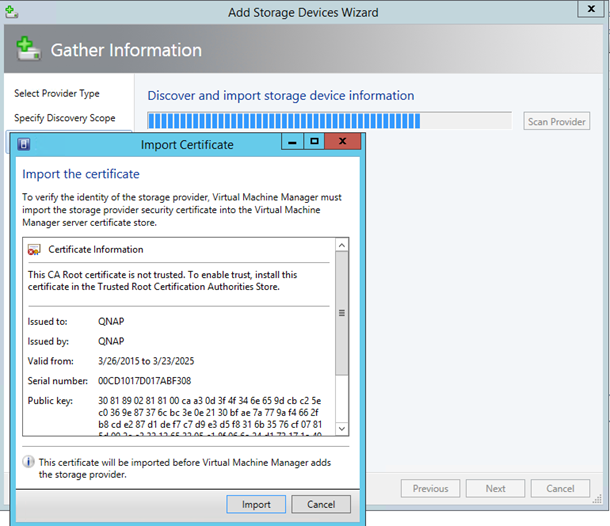
If you have selected SSL, you have to import the certificate as below.
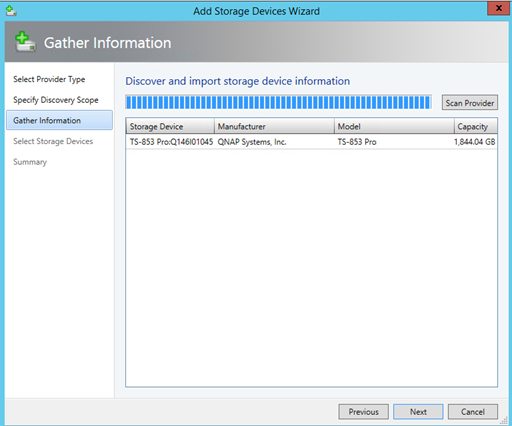
Then select the storage device as below.
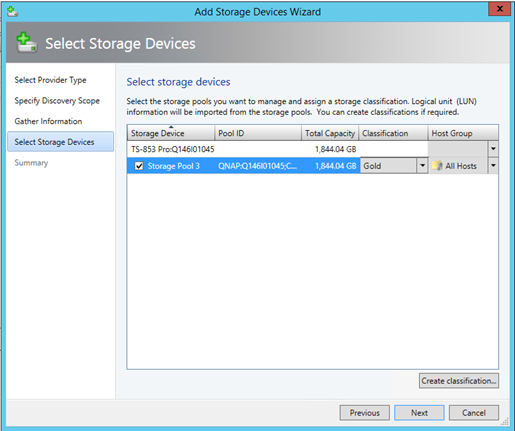
Next I specify a Classification and the Host Group.
Add iSCSI array to Hyper-V hosts
N.B: Before adding the iSCSI array, be sure that the iSCSI initiator is started and MPIO is installed and configured on your Hyper-V hosts.
Now I have to add the iSCSI Array to the Hyper-V hosts. For that, open the Hyper-V host properties and select Storage tab. Click on Add and select Add iSCSI Array.
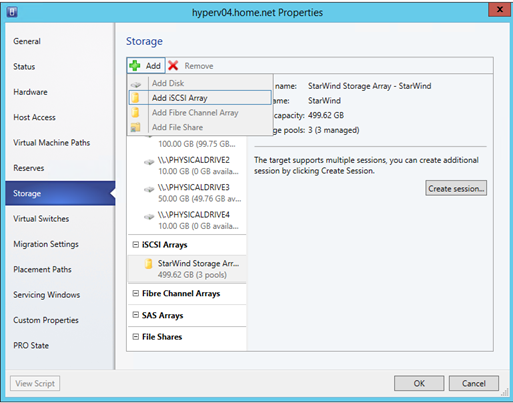
Select the Array and click on Create.
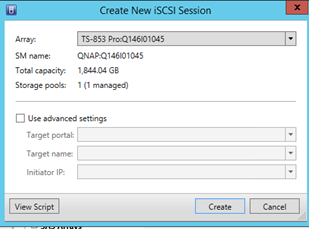
To create additional session, you can click on Create session. Before creating session, be sure that MPIO is installed and configured.
Add storage to Hyper-V Cluster
Now we can create LUNs and convert them to CSV for the Hyper-V Cluster. So open the properties of the Cluster and navigate to Available Storage. Then click on Add.
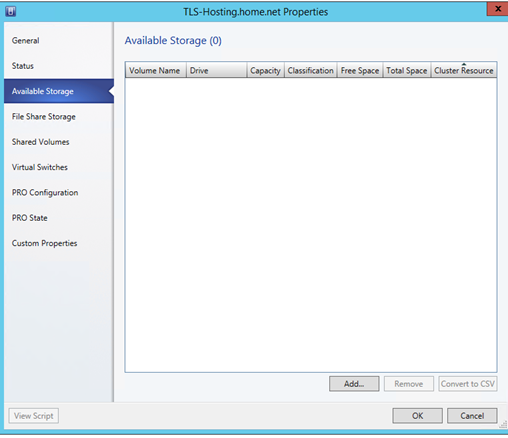
Next click on Create Logical Unit. Specify a name and a size. I choose to create a fixed size storage LUN.
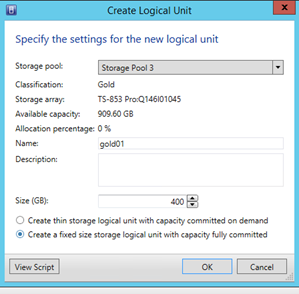
Once the LUN is created, I select the LUN, I give it a volume label and I click on OK.
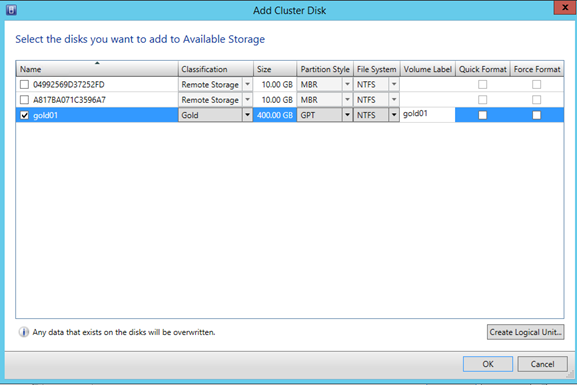
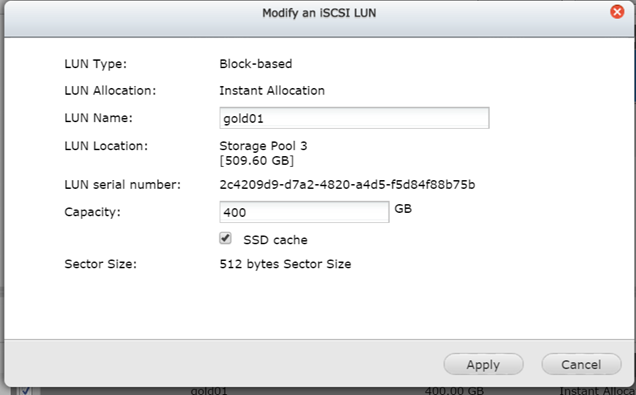
Meanwhile, I connect to the QNAP console to edit the just created LUN. Next I select SSD Cache option.
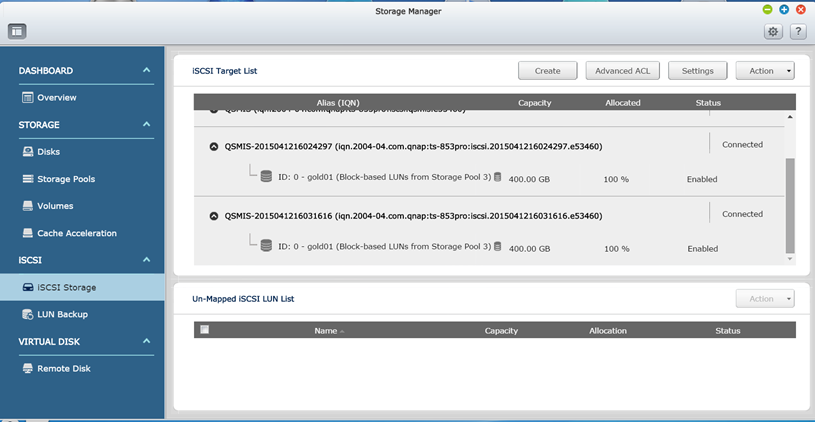
Then you can open the iSCSI storage tab to see that two targets have been created with the LUN associated.
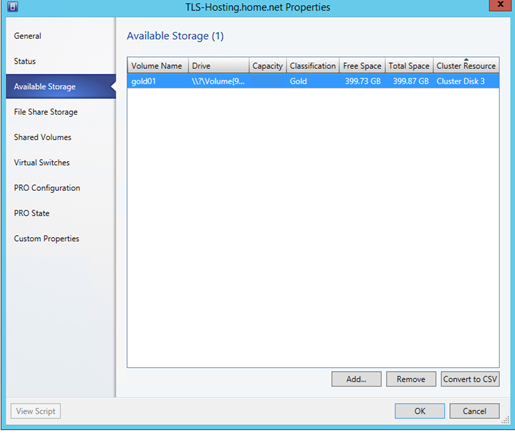
Next I come back to VMM and I re-open the cluster properties. Select the Available Storage tab and click on Convert to CSV.
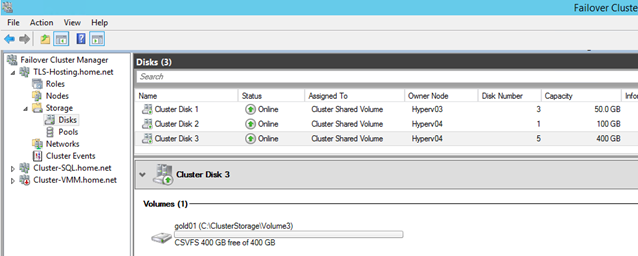
And tadaa, the LUN is added to Cluster Storage J.
Performance
To test the performance, I have copied a big VHDX from the Hyper-V host to the LUN. And the result is amazing: I have 18,000 IOPS on average!
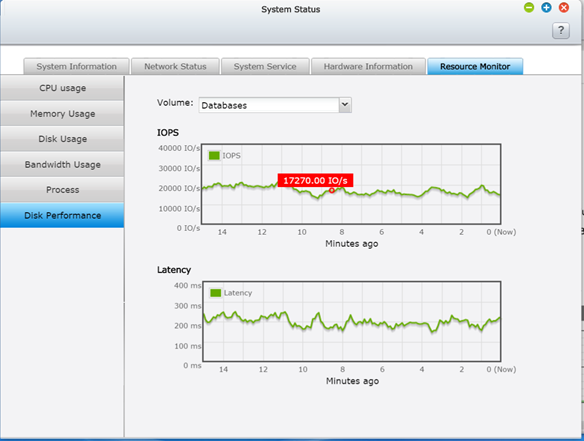
Below you can see that I copy files almost at 530 MB/s.

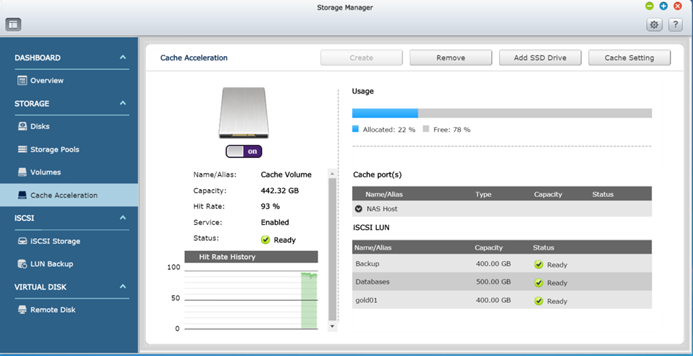
And the Cache Acceleration is well running J
Conclusion
Before buying a QNAP, I had a Synology DS412+. I have bought a QNAP because it can be connected to Virtual Machine Manager by SMI-S. Moreover QNAP supports Storage Pool that enables to create multiple LUNs on the same group of disk. When you have not enough bay in your NAS, just add some SSD to increase overall performance of the storage solution. So QNAP NAS is great to implement Cluster Share Volumes for Hyper-V Cluster storage.


