In the previous topic, I have configured the Website clouds service in the Windows Azure Pack. However websites usually need a database to store configuration and user data. For example Tech-Coffee is powered by WordPress which needs a MySQL database. So in this topic we will see how to implement the MySQL Servers service on the Windows Azure Pack.
MySQL Server installation and configuration
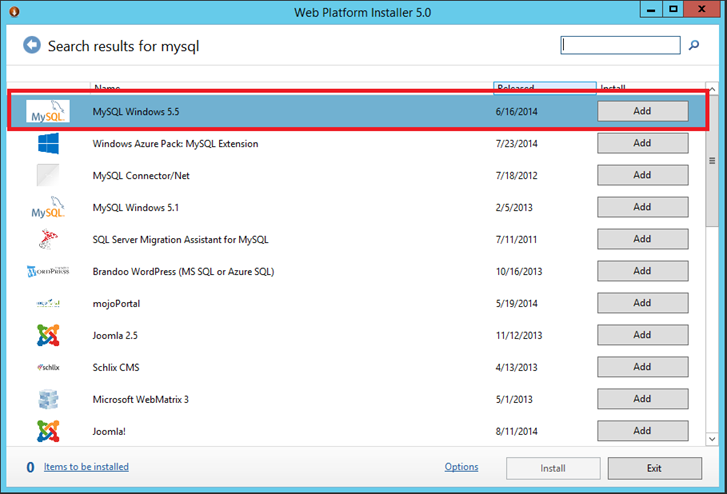
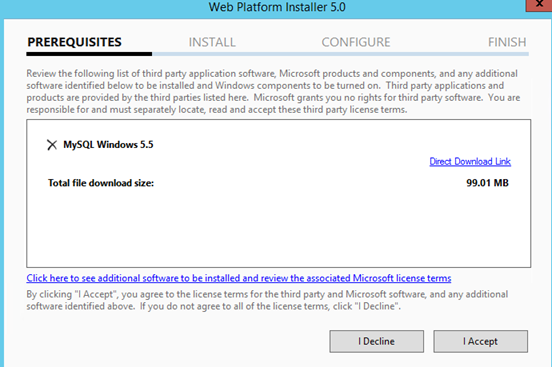
To host MySQL database, I have created a virtual machine called VMWAP18-MySQL01. On this machine I have downloaded Web Platform Installer (WPI). Next I have Run WPI with run as administrator privilege. Then I have added MySQL Windows X.X component.
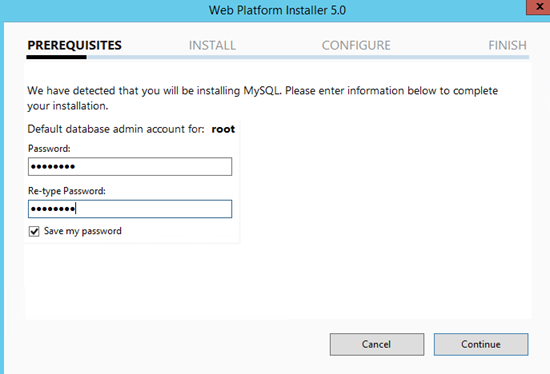
Once you have clicked on install, WPI asks you a password for the root account. Type a password and click on Continue.
Next accept the license terms.
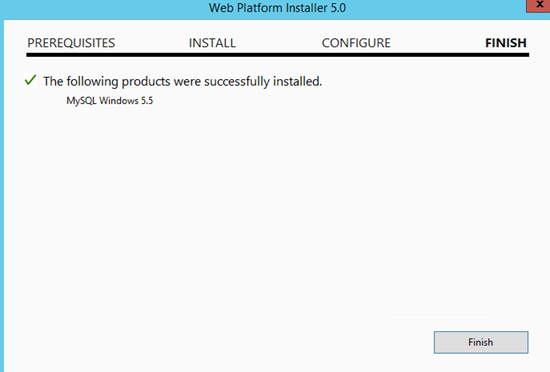
There is no other configuration in WPI. Once MySQL is downloaded and installed, click on finish.
To finish, open MySQL command line, log on with root account and execute these commands:
GRANT ALL PRIVILEGES ON *.* TO 'root'@'%' IDENTIFIED BY 'password' WITH GRANT OPTION
FLUSH PRIVILEGES;
NB: If your firewall is activated on your server, don’t forget to create a rule to grant access on port TCP 3306.
Windows Azure Pack configuration
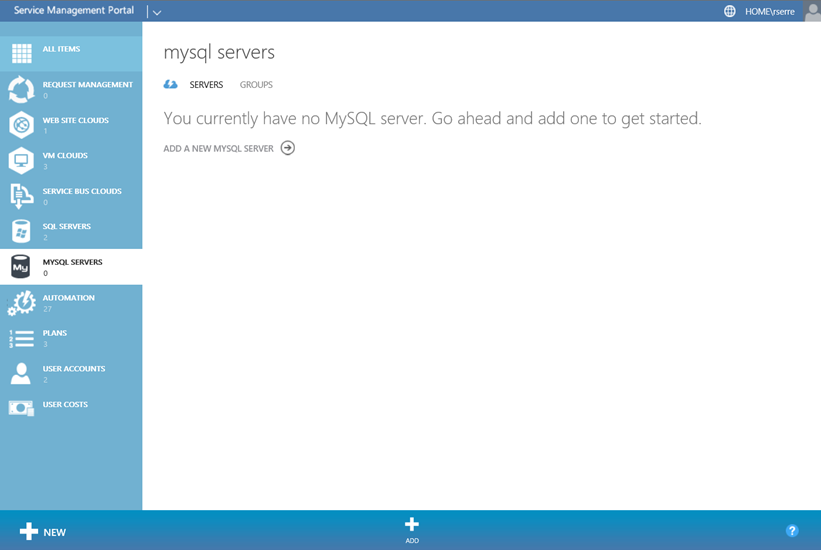
Now that MySQL is installed, we can add the MySQL server to WAP. Connect to the administrator portal and click on MySQL Servers.
First I create a new group called Dharma-MySQL as below:
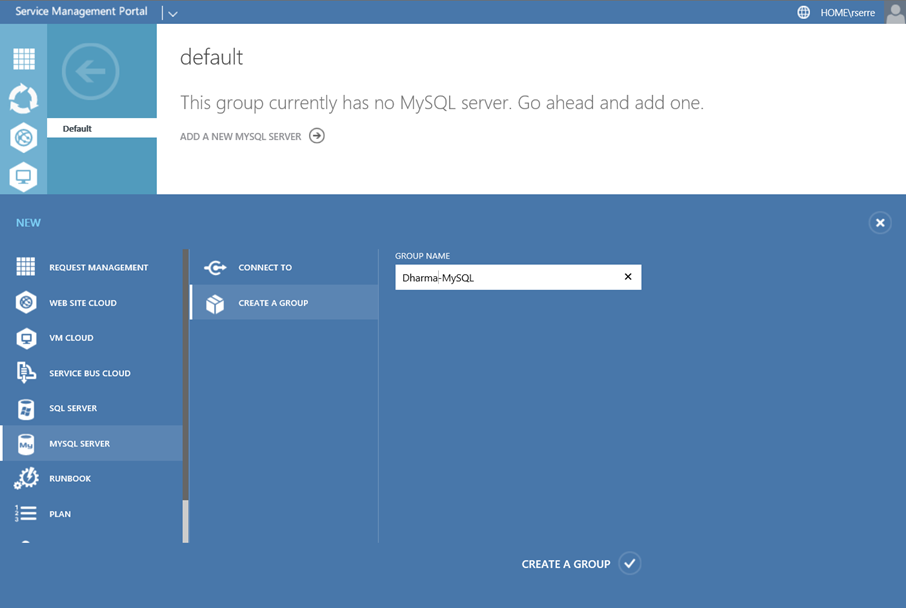
Once the group is created, I connect to the MySQL Server with the root account. I recommend to not use this account in a production environment.
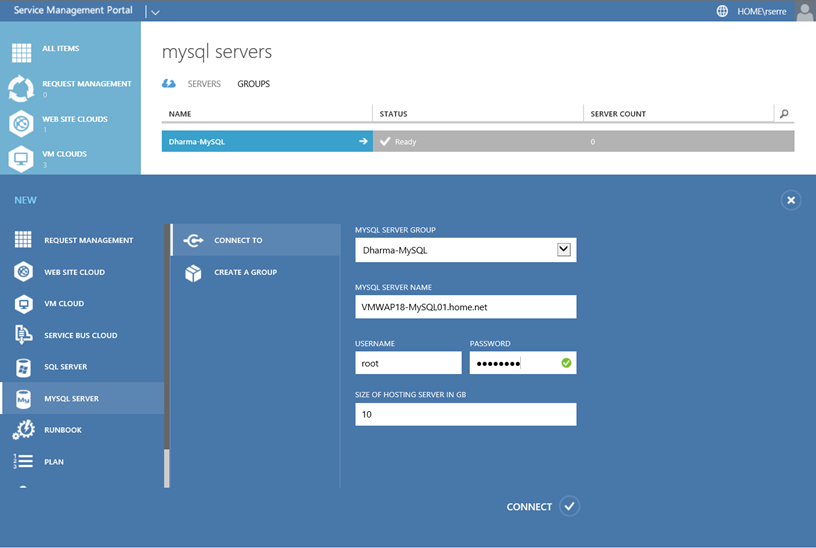
Once you are connected to the MySQL Server, you can add MySQL Service to a hosting plan.
Include MySQL service to a hosting plan
To add the MySQL service to a hosting plan, go to the plan and click on Add Service.
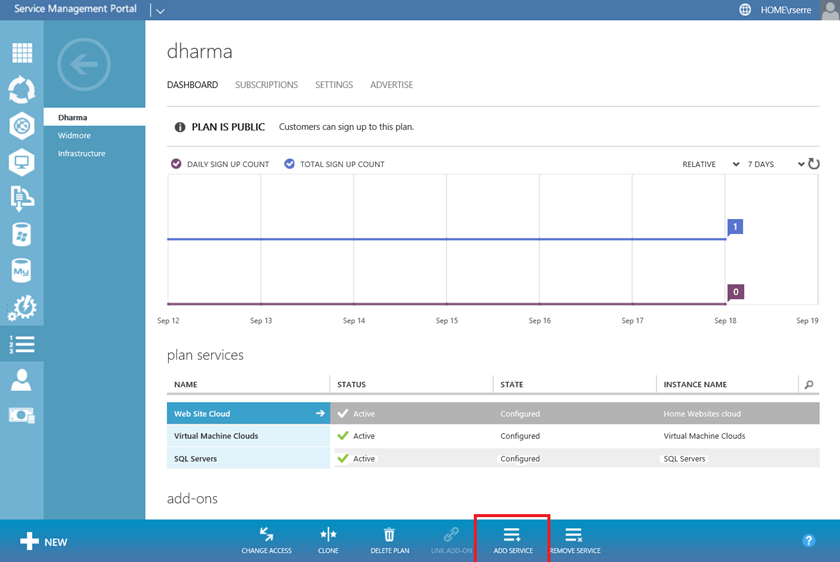
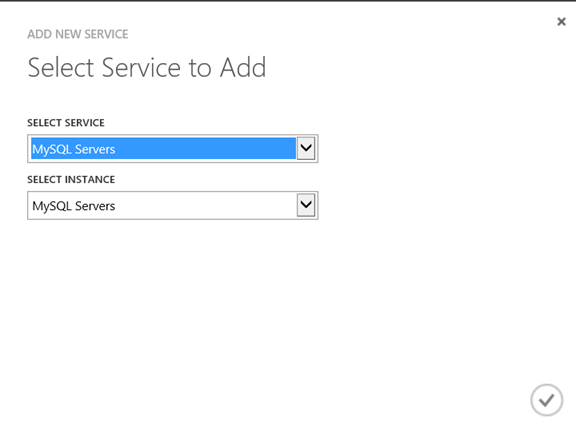
Select the service that you want to add to the hosting plan. For this example I select MySQL Servers.
And here the MySQL Servers service is added to Dharma plan.
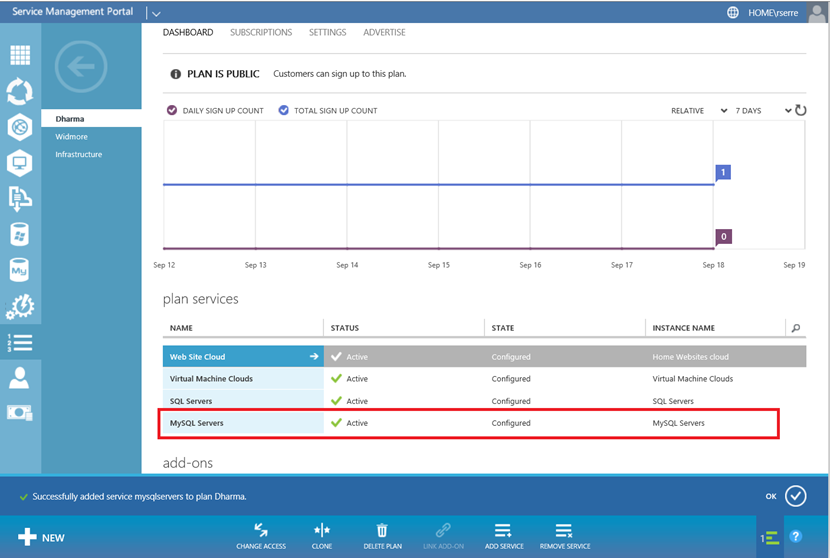
WordPress implementation
Now that MySQL is implemented in the Windows Azure Pack, I’m going to check the working of MySQL from WAP by creating a WordPress website. First I create a website. For more information about websites, read this topic.
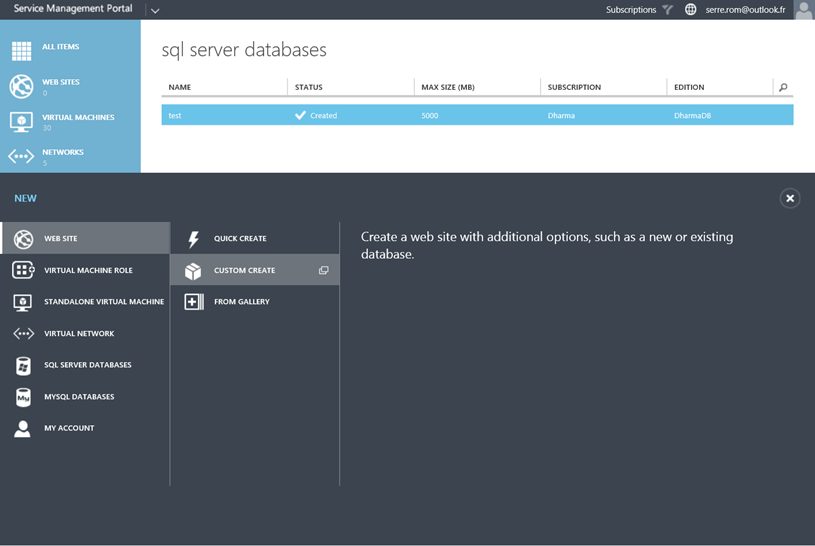
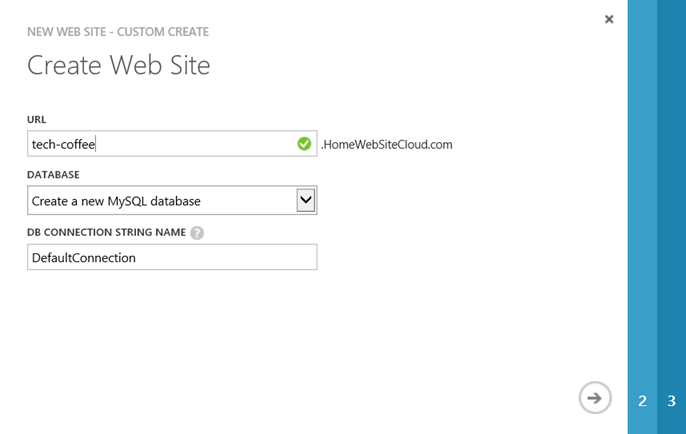
Next I create a website called tech-coffee J. I select Create a new MySQL database.
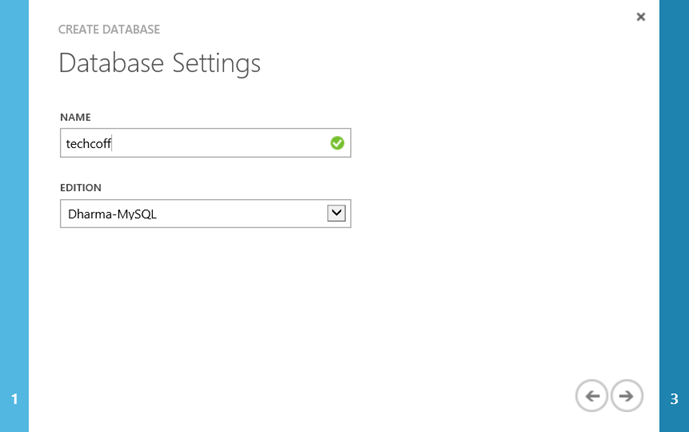
Specify a name for this database and choose the edition (the MySQL Server group name).
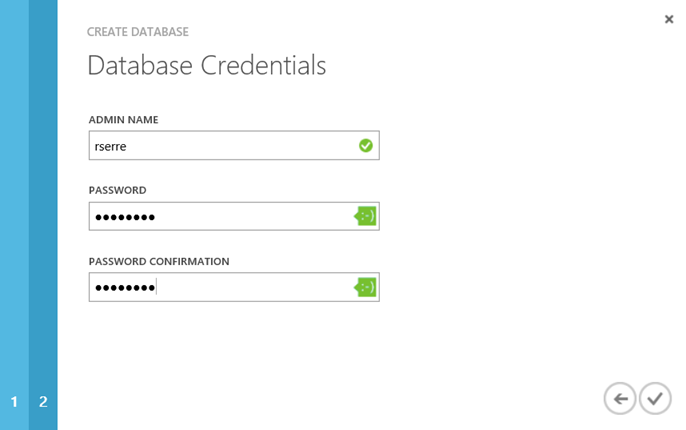
Next specify credentials for the database.
Once the site is created, a MySQL database should be created as below:
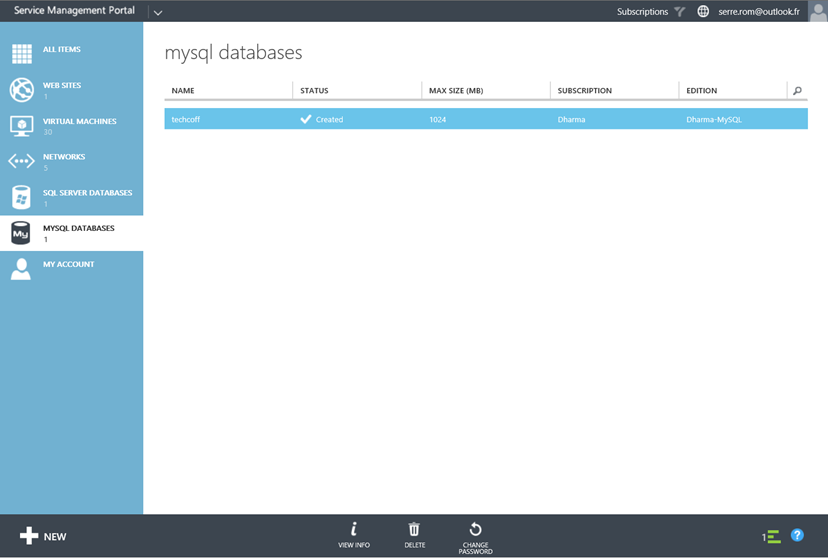
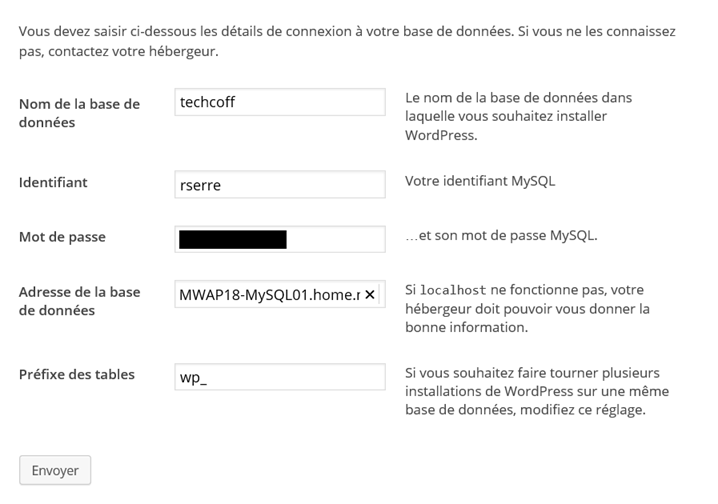
After having uploaded WordPress on my website storage, I run the WordPress installation. So I specify the MySQL information (sorry for the french language on the below screenshot J):
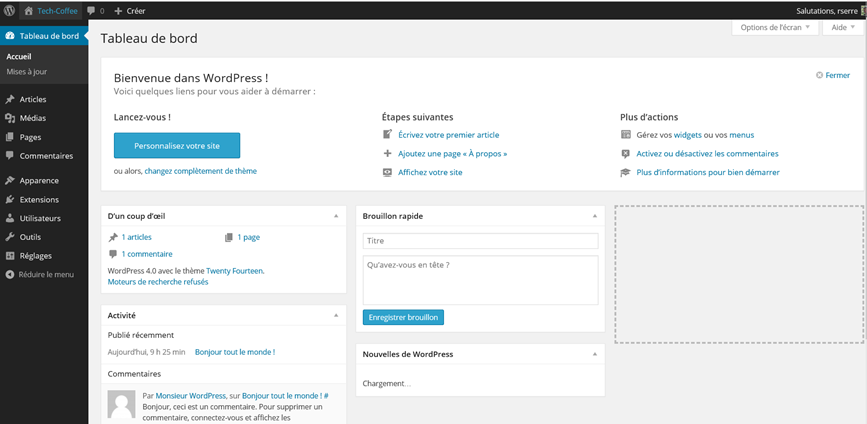
After the installation I’m connecting to the WordPress admin area. It seems to work J.
