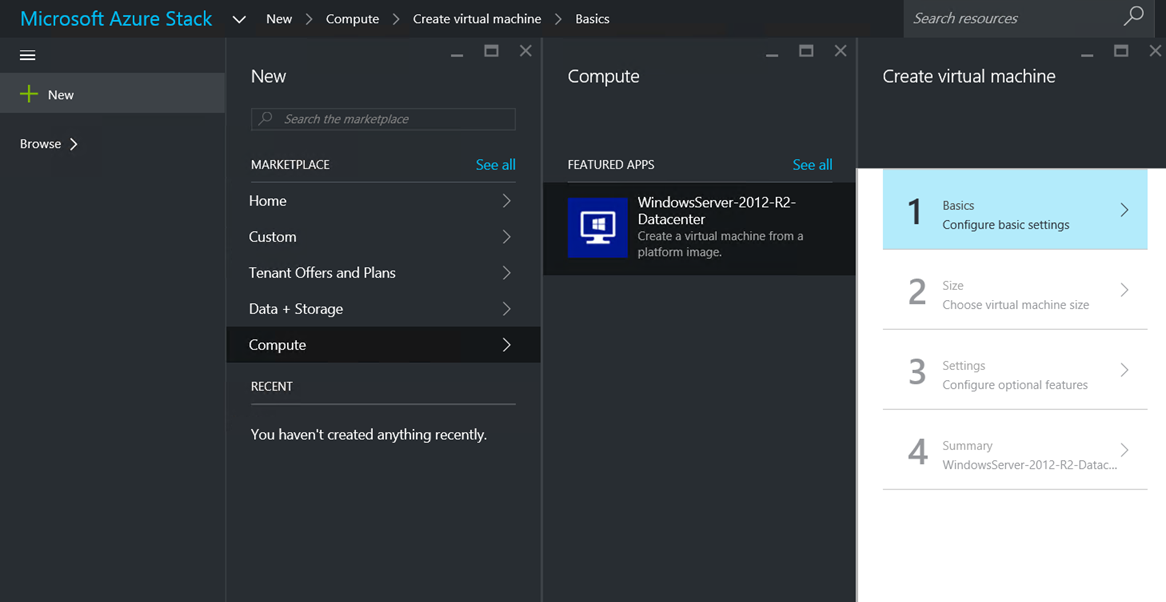
In a last topic, I have explained how to deploy Azure Stack Technical Preview 1. Now that Azure Stack is deployed, offers and plans have to be created in order to a tenant can be able to get a subscription. In this topic, I will detail how to create an offer and a plan. Then a tenant will get a subscription.
Create a plan
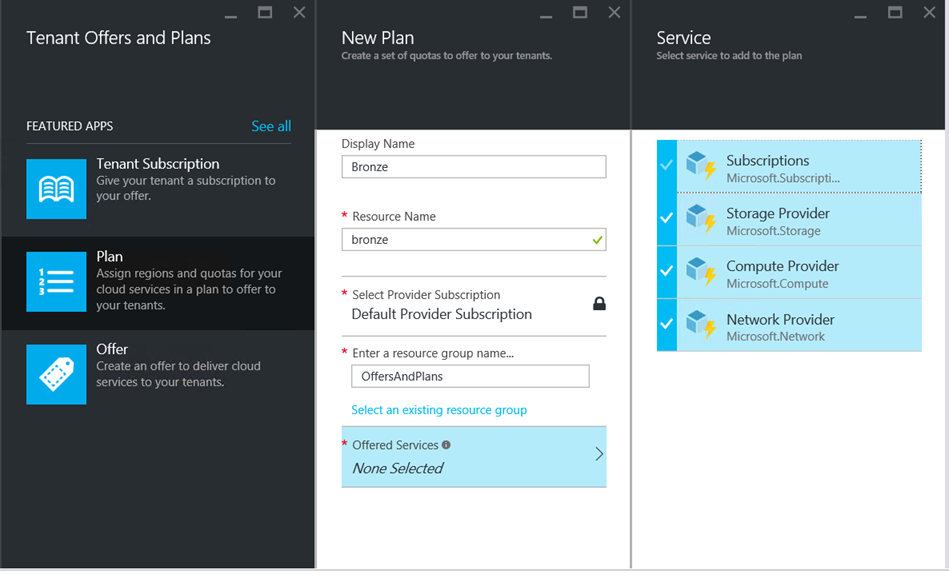
First of all, we have to create a plan. For that, click on New, select Tenant Offers
and Plans and Plan.

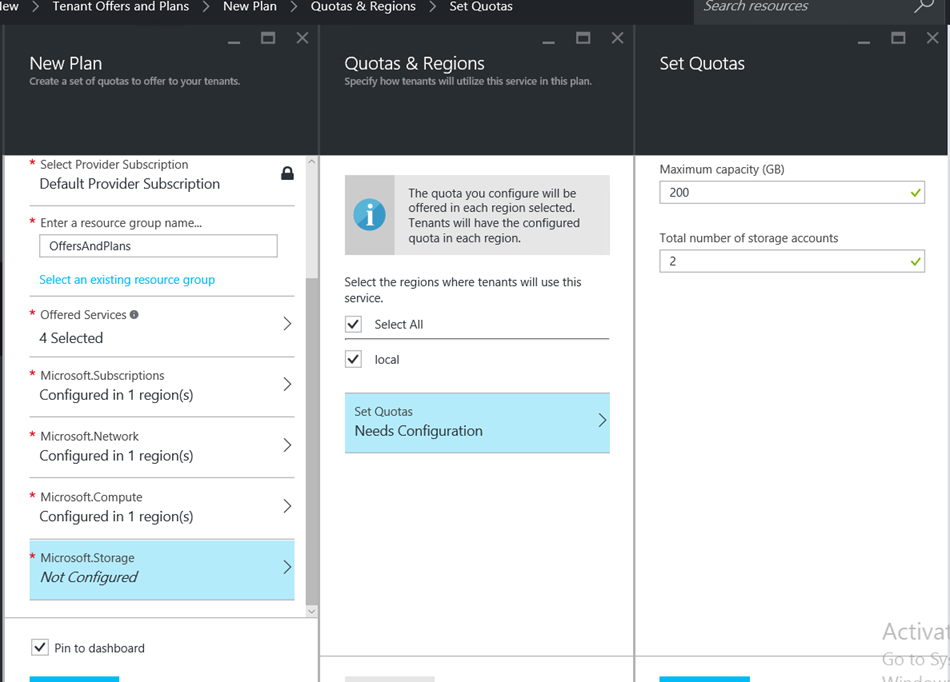
Then give a name to the new subscription and choose the offered services. For a standard IaaS service, just select Storage, Compute and Network providers.
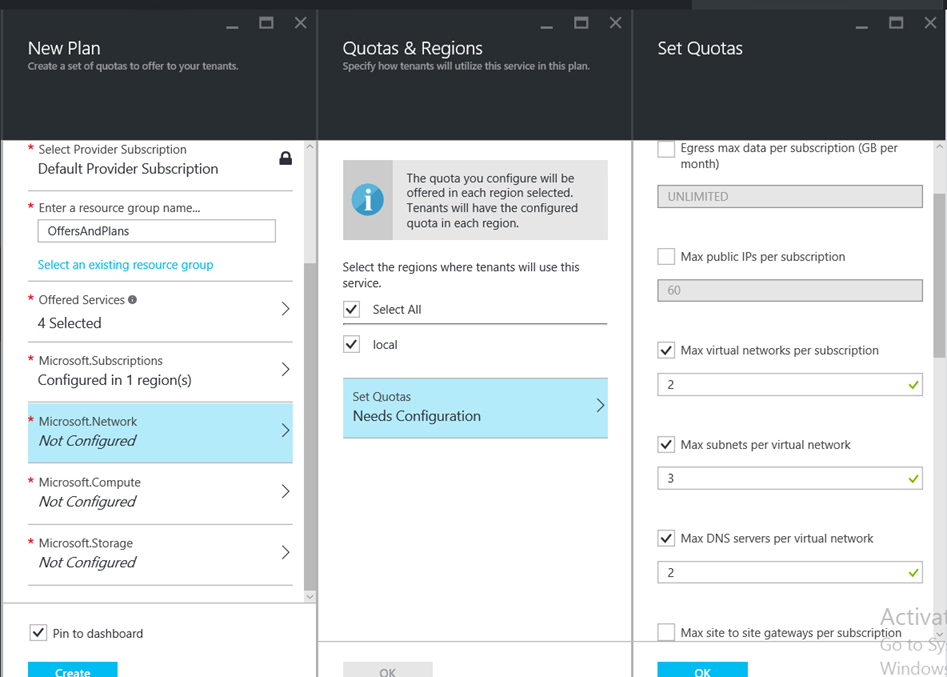
Once you have selected providers, you can set quotas for each provider. On the below screenshot, I have set quotas on number of Virtual Networks, Subnets and maximum DNS Servers per virtual network.
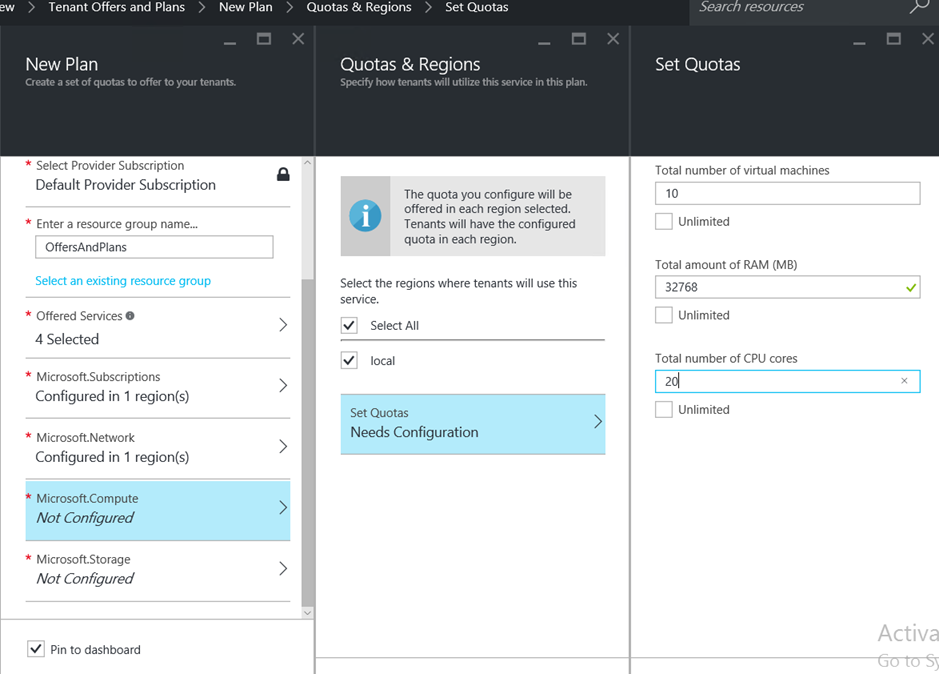
You can also set quotas on compute by configuring the limit of the number of virtual machines, the total amount of memory and CPU cores in the plan.
Then I configure the quotas regarding the storage by limiting the maximum capacity and the amount of maximum storage accounts.
Create the offer
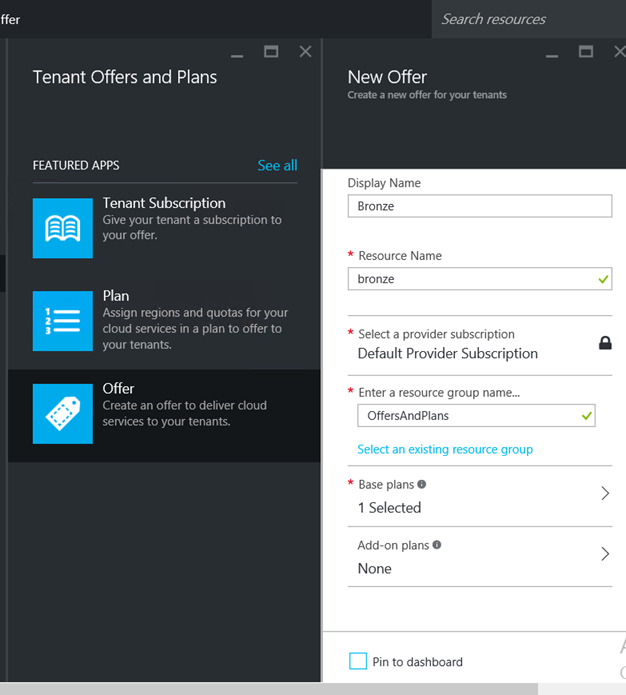
Once the plan is created, you can create an offer. Specify an offer name and choose a Base plan.
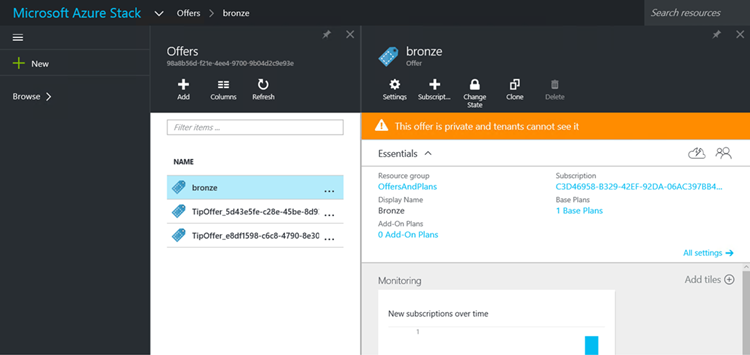
Once the offer is created, the offer is private. That means that a tenant can’t subscribe by himself to an offer because he can’t see it. If you click on browse and you select the offer, you will see the below message.
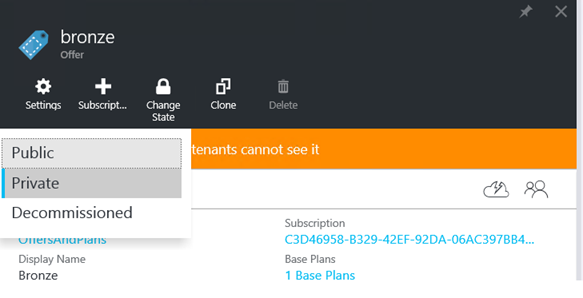
To set the offer to public, just select Change State. Now you can select Public.
Create a tenant
To create a tenant for your customer, open the Azure Active Directory located in Microsoft Azure that you have specified when you have deployed Azure Stack. Create a new user in your organization. I call my tenant bronze.
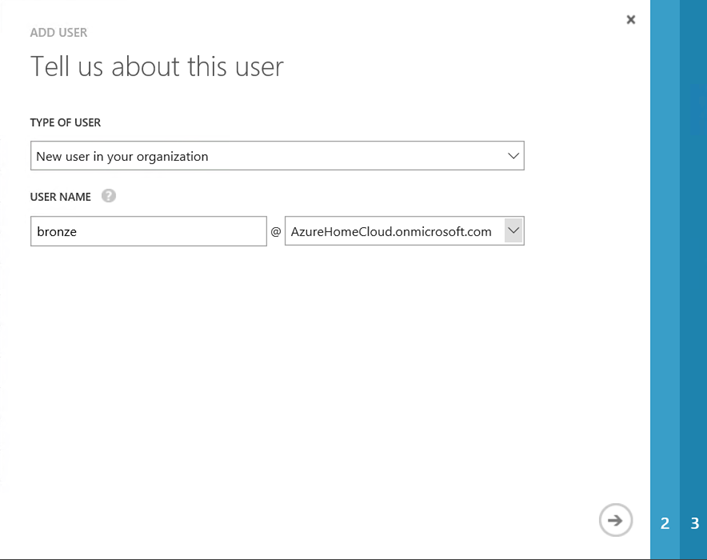
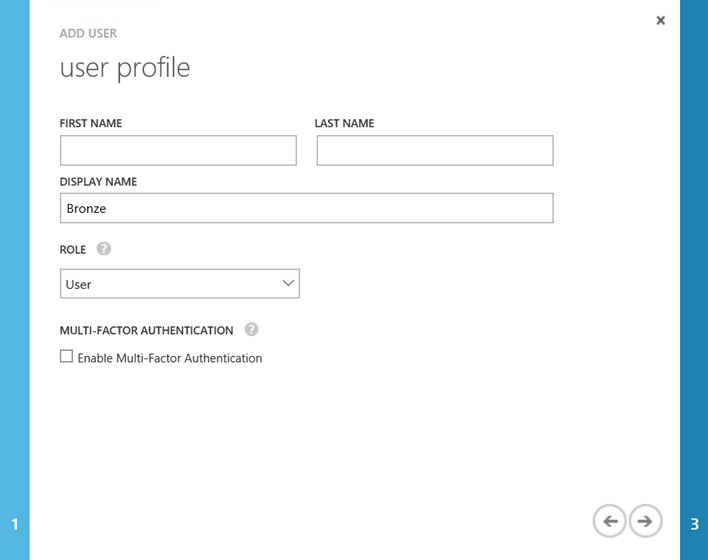
Create this user as a User.
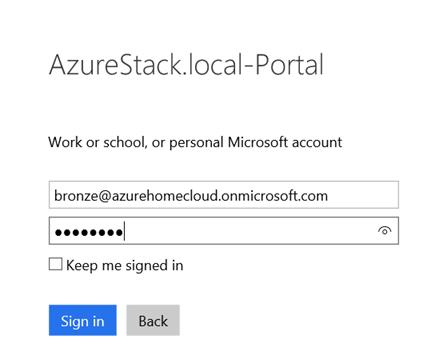
Now, with your new Azure AD user, log on Microsoft Azure to set the password. Once the password is set, you can open again Azure Stack portal by using the new Azure AD user (called bronze in this example).
Get a subscription with the tenant
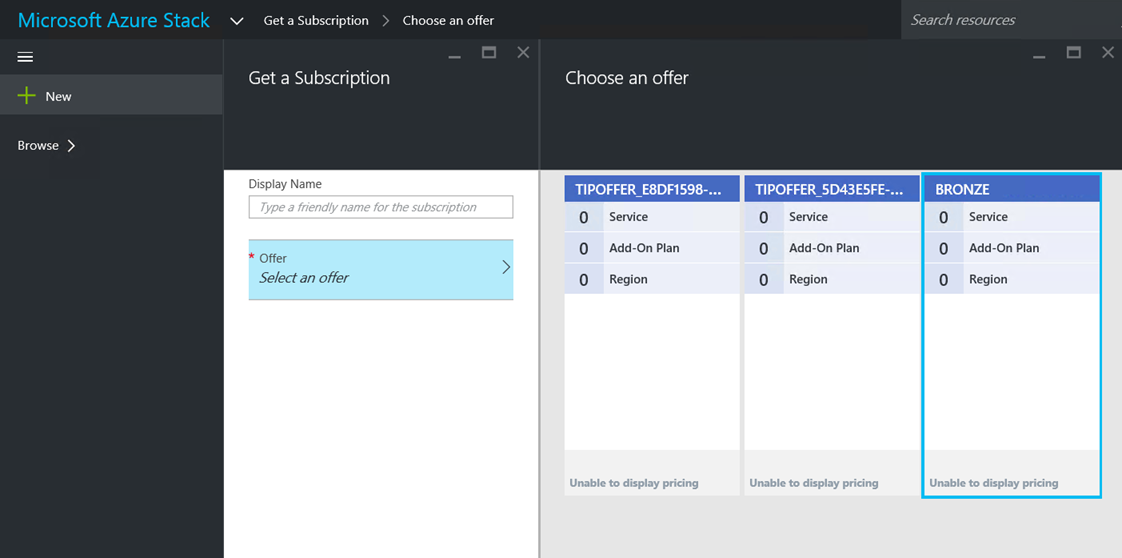
Once you are connected to Microsoft Azure Stack portal, you can click on Get a Subscription.
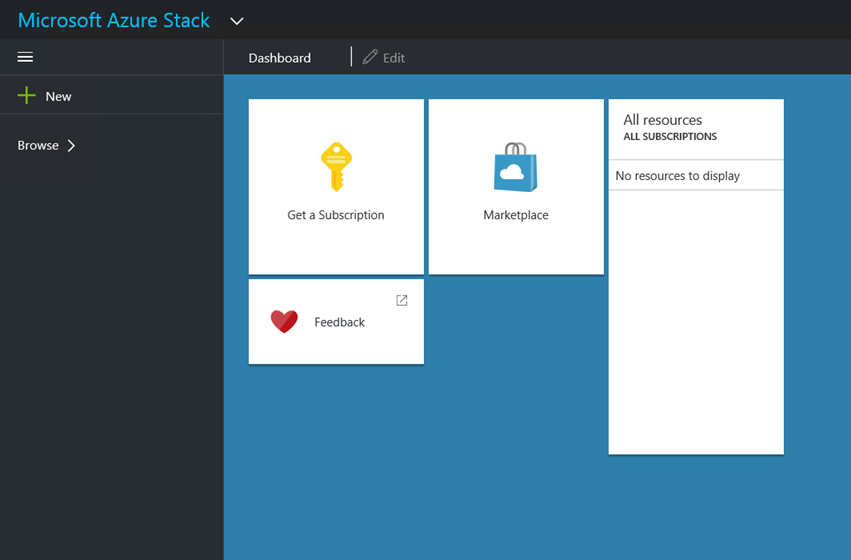
Select the offer that you have created and click ok.
Now you can create a storage account or virtual machines as below.
