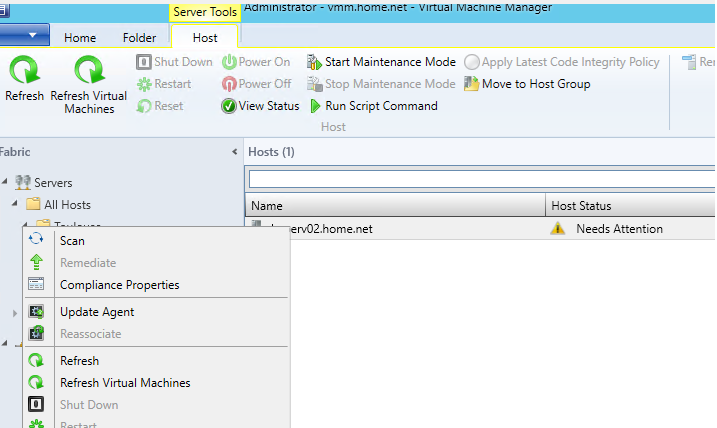
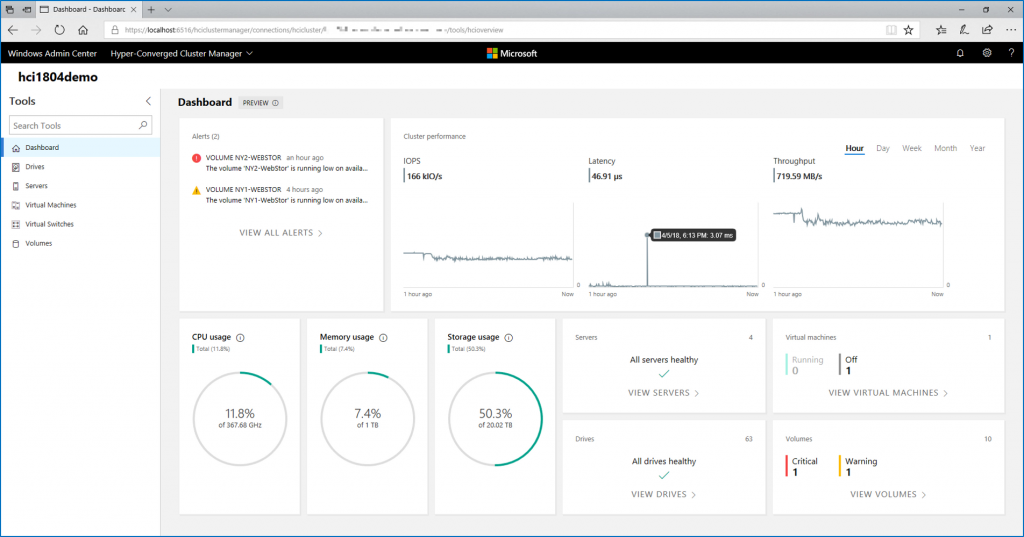
Currently the last build for the next release of Virtual Machine Manager is the Technical Preview 2 (maybe Technical Preview 3 in the end of the month). In this topic, I will explain how to upgrade Virtual Machine Manager 2012 R2 installed in high availability to the Technical Preview 2.
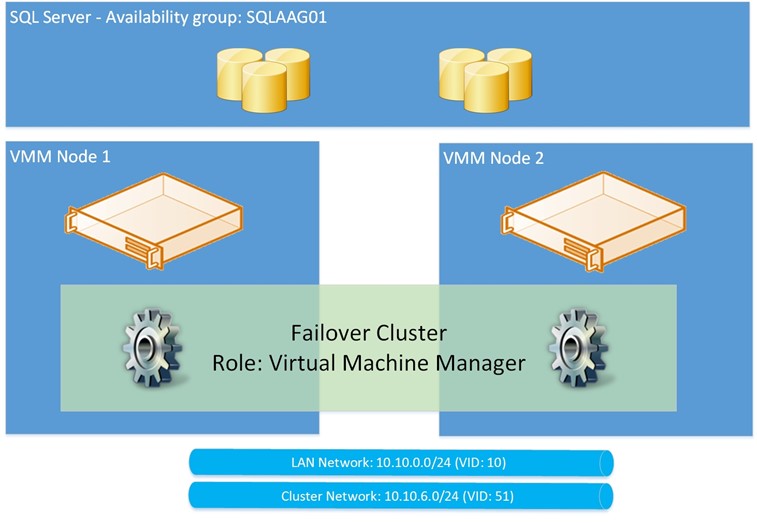
Architecture Overview
My Virtual Machine Manager nodes are in a failover cluster connected by two networks:
- LAN Network (client and cluster communications)
- Cluster Network (cluster communications)
The Virtual Machine Manager database is stored in an AlwaysOn Availability Group to support the high availability.
Migrate Windows Server 2012 R2 to Technical Preview 2
Before upgrading your servers in Technical Preview 2, please be careful because there are a lot of known issues that I have experienced.
Known issues
First, in the Technical Preview 2 of Windows Server, Windows Update is not available. So you have to download the update manually to update your system. Then when you have upgraded your system to Technical Preview 2, the network adapters are disabled. To be able to enable them, you have to remove them from Device Manager and reboot your system. When you update a system where a failover clustering was installed, you have to remove also the Virtual Ethernet Failover Adapter (from hidden devices). Otherwise, the cluster will not start.
You can have a list of important known issues here.
Upgrade the first node
To upgrade the cluster node and the cluster itself, I use a new Windows Server 2016 feature called Cluster Rolling Upgrade. For more information about this feature you can read this topic.
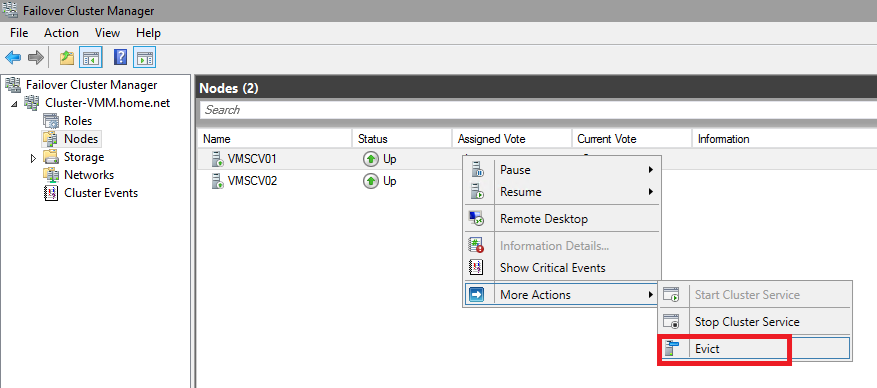
First, I evict the cluster node that I will upgrade from the cluster. Otherwise the upgrade wizard will not let you upgrade your system.
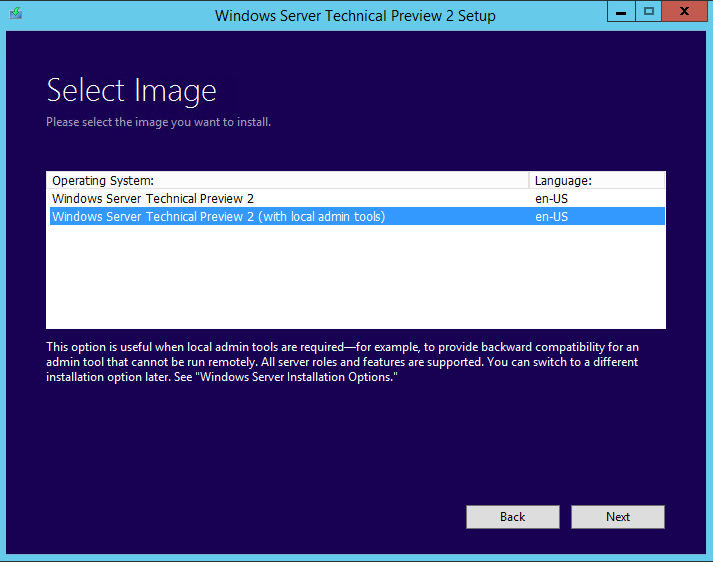
Next I mount the Windows Server Technical Preview 2 ISO and I run the setup. I select the image with local admin tools.
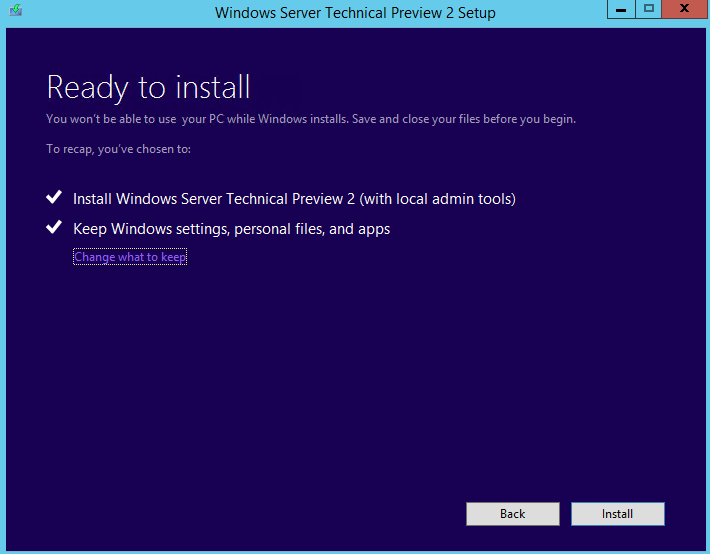
The wizard tells me that some settings will be kept during the upgrade. I click on install.
When the installation is finished, verify your network adapters. If they are disabled, you have to remove all device adapters from Device Manager (also the Virtual Ethernet Failover Adapter from hidden devices). Next reboot your machine and reconfigure your network devices. Also, verify if the cluster service is started.
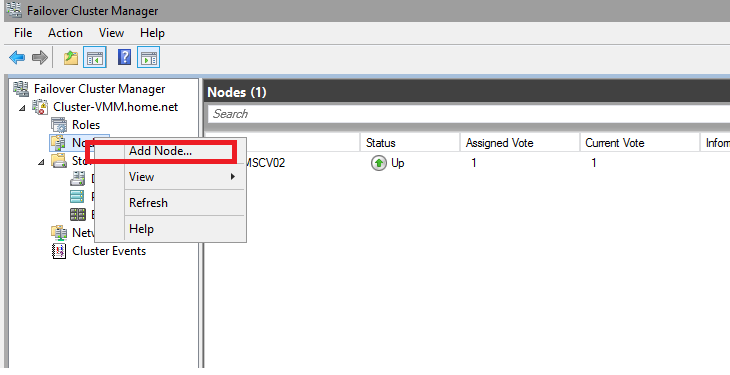
Next open the Failover Cluster Manager from a Windows Server Technical Preview 2 server. Select Add Node as below.
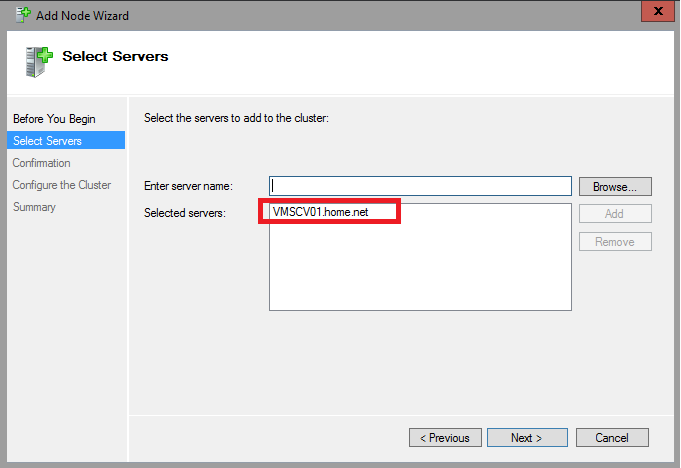
Then specify the server name that you have upgraded.
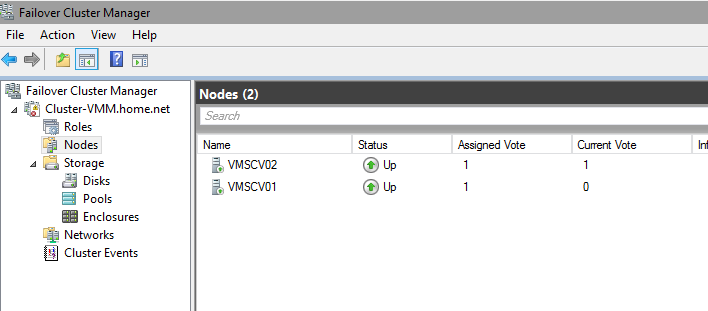
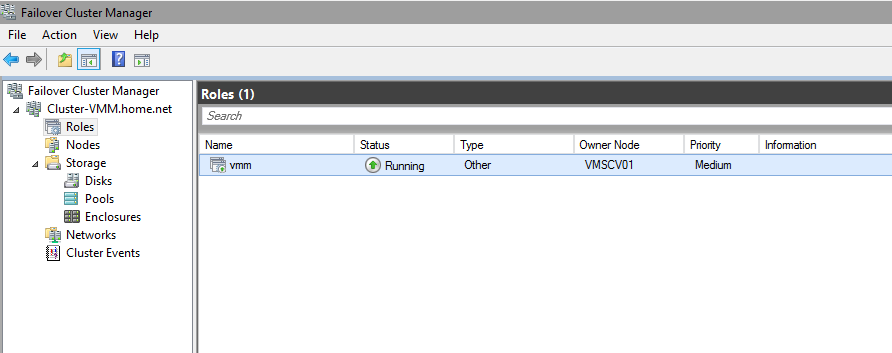
Now you should have your both nodes in running state as below.
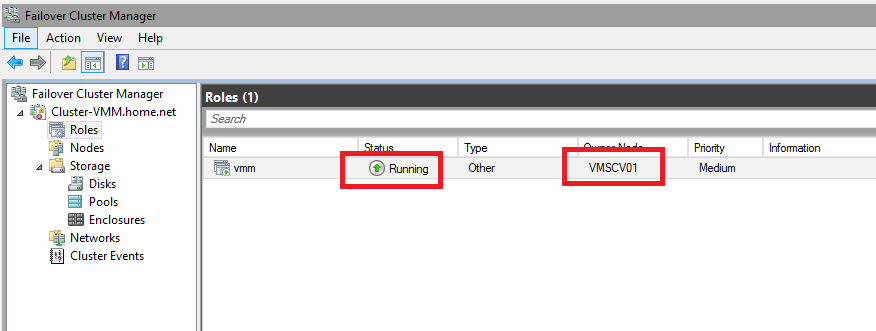
Now I failover the role to the server upgraded in Windows Server Technical Preview 2 to verify if the role works well on this node.
Upgrade the second node
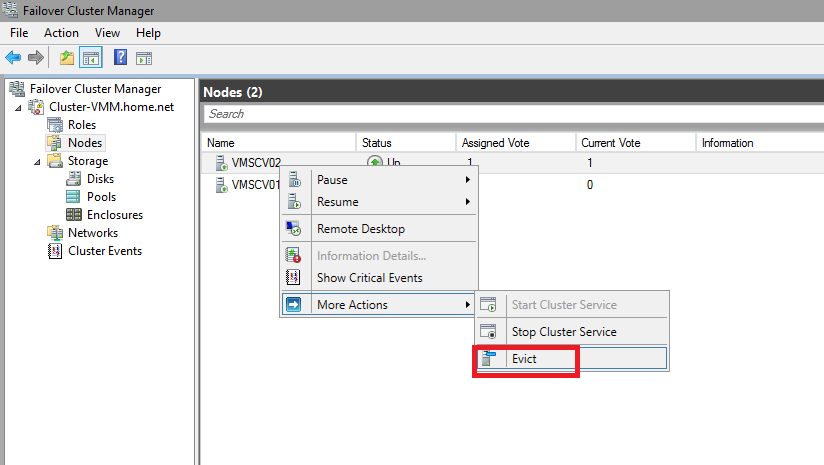
Now I’m upgrading the second node. So I evict the other node from the cluster.
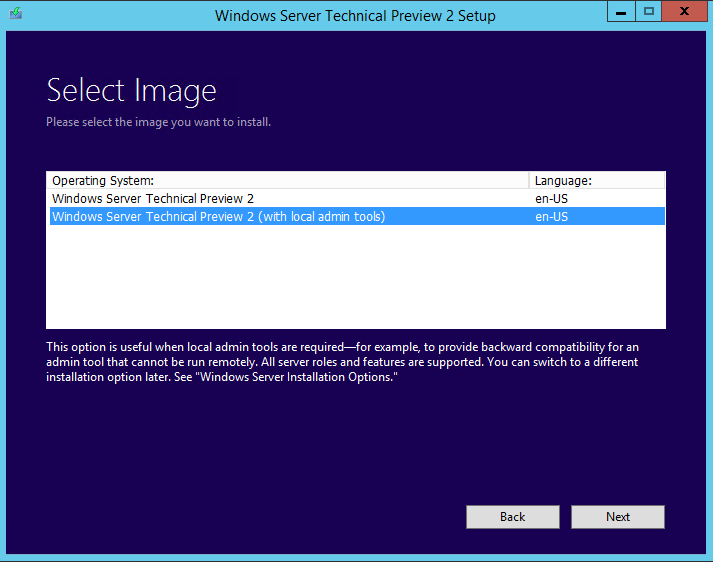
Then I mount the Windows Server Technical Preview 2 ISO on the second node and I launch setup to run the upgrade. I select an upgrade with local admin tools.
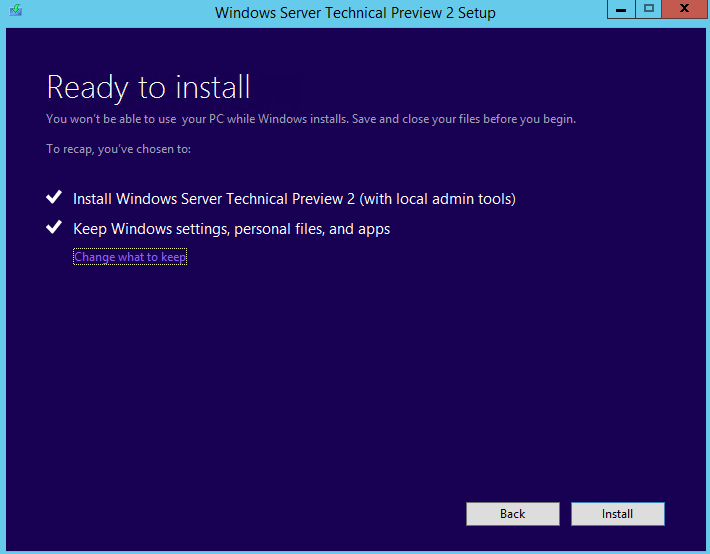
On the ready to install screen, just click on install to run the upgrade.
After the upgrade you should have the same issues that on the node 1. The network adapter should be disabled. So you have to remove all device adapters from Device Manager (also the Virtual Ethernet Failover Adapter from hidden devices). Next reboot your machine and reconfigure your network devices. Also, verify if the cluster service is started.
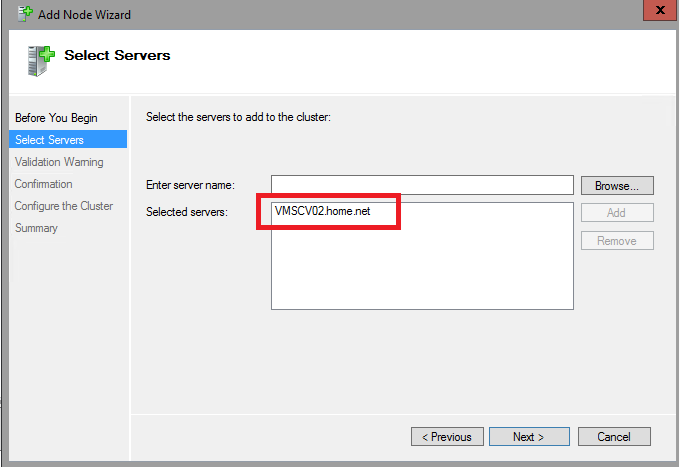
Next open the failover cluster manager from a Windows Server Technical Preview 2 node and select Add Node. Specify the second node and click on next.
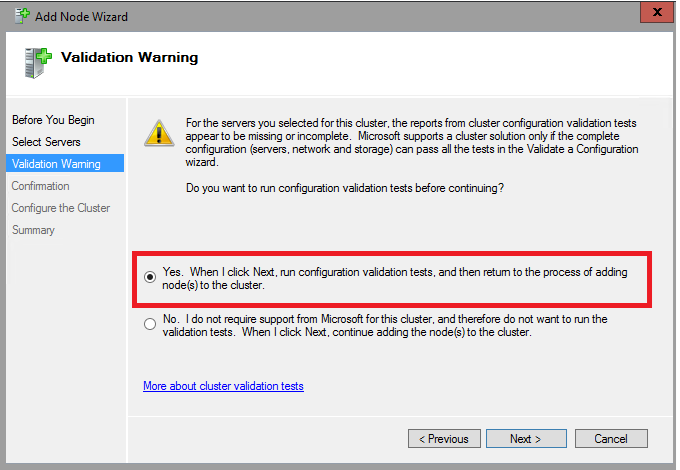
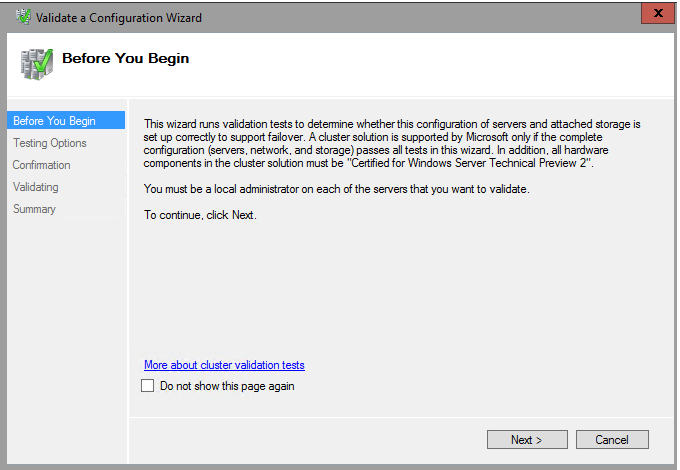
Then select yes to run the cluster validation.
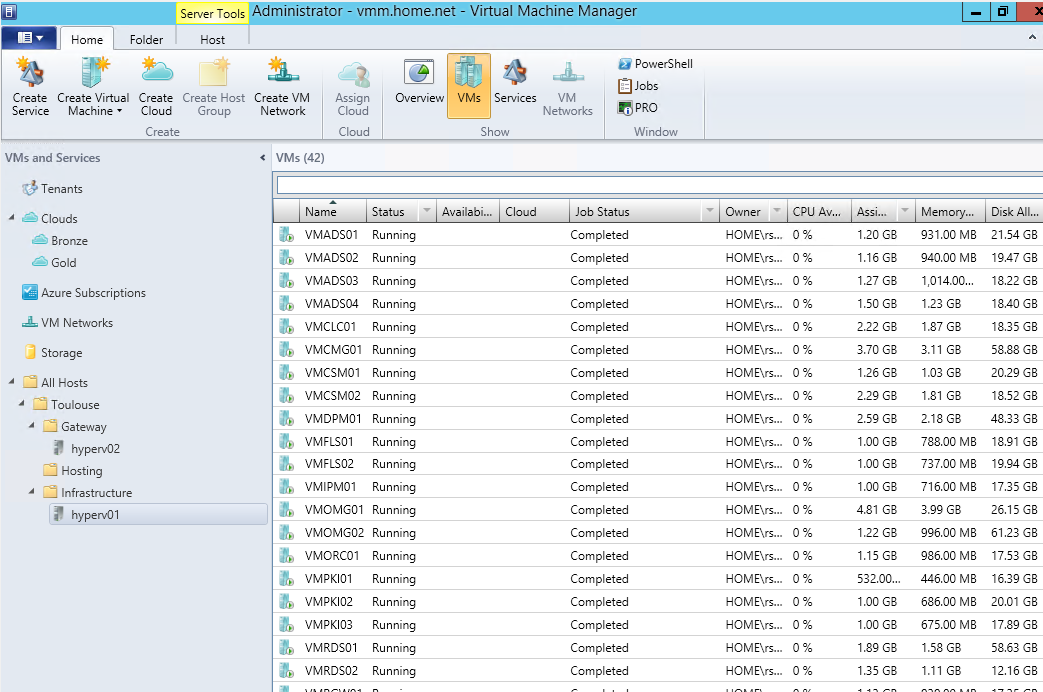
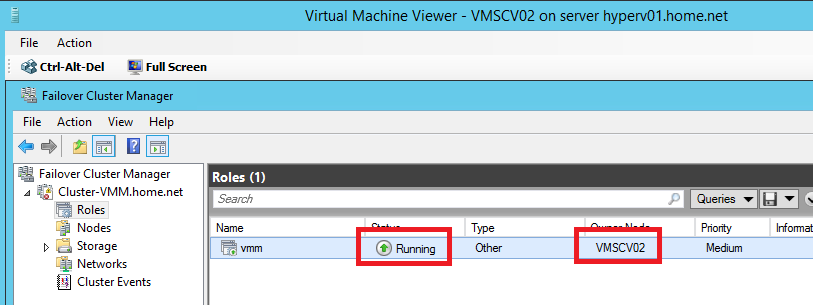
Once the node is added, you can move the vmm role to the second node to verify if Virtual Machine Manager works well on the second node.
Upgrading the cluster functional level
To finish with the cluster, the cluster functional level have to be upgraded. To upgrade it, just run Update-ClusterFunctionalLevel in an elevated PowerShell prompt.

Upgrade Virtual Machine Manager 2012 R2 to Technical Preview 2
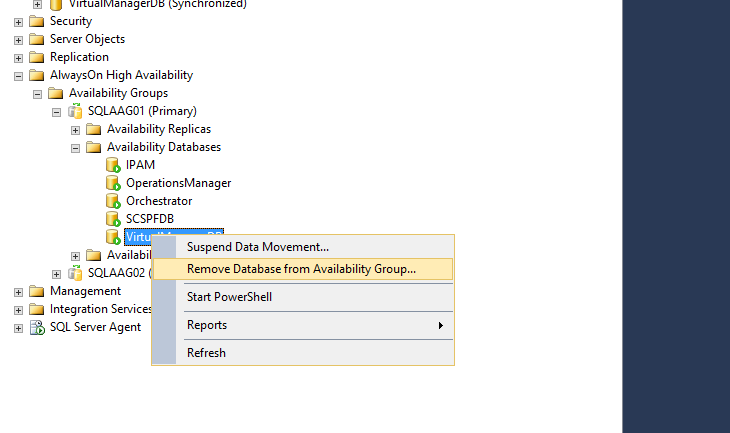
Remove Virtual Machine Manager database from Availability Group
If the VirtualManagerDB is in an alwaysOn availability group (AAG), you have to remove it from the availability group.
Install prerequisite on both nodes
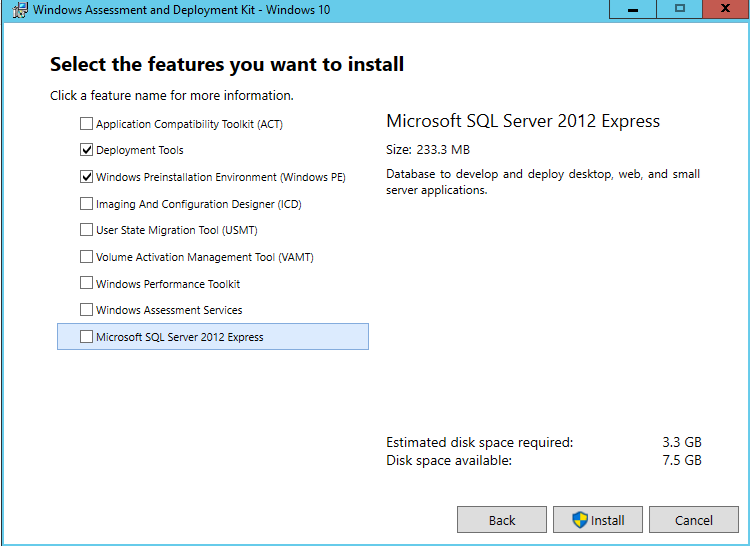
The Virtual Machine Manager Technical Preview 2 needs ADK 10. You can download it here. Next run the setup and install Deployment Tools and Windows Preinstallation Environment (Windows PE).
Upgrade the first node
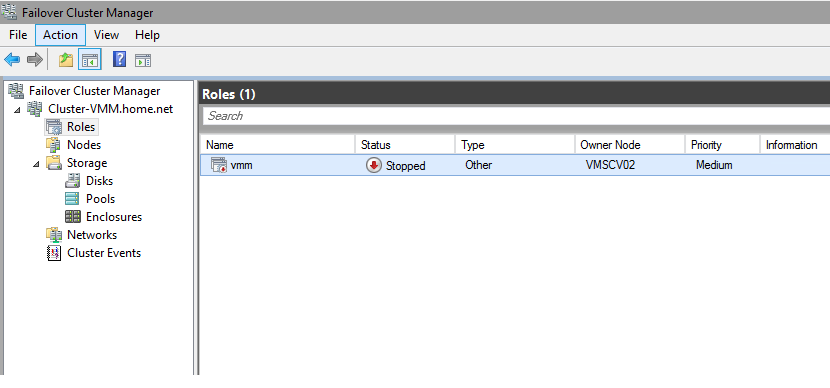
Before upgrading the first node, I prefer to stop the vmm role from the cluster.
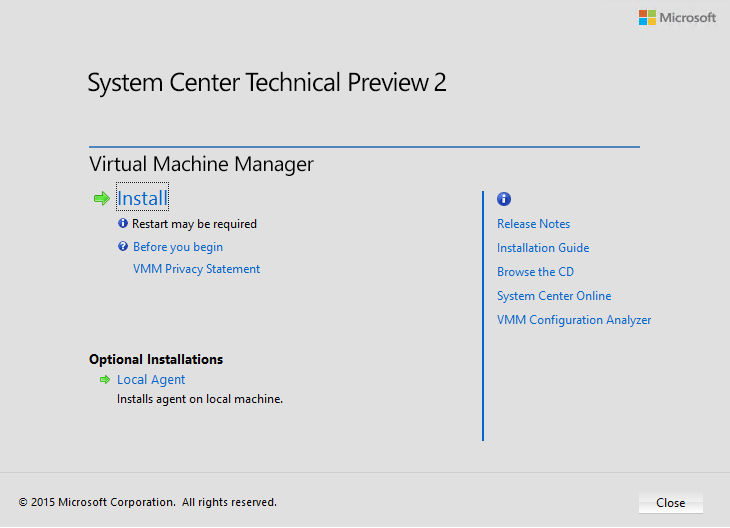
Next I run the setup of Virtual Machine Manager Technical Preview 2 on the first node. Then I select Install.
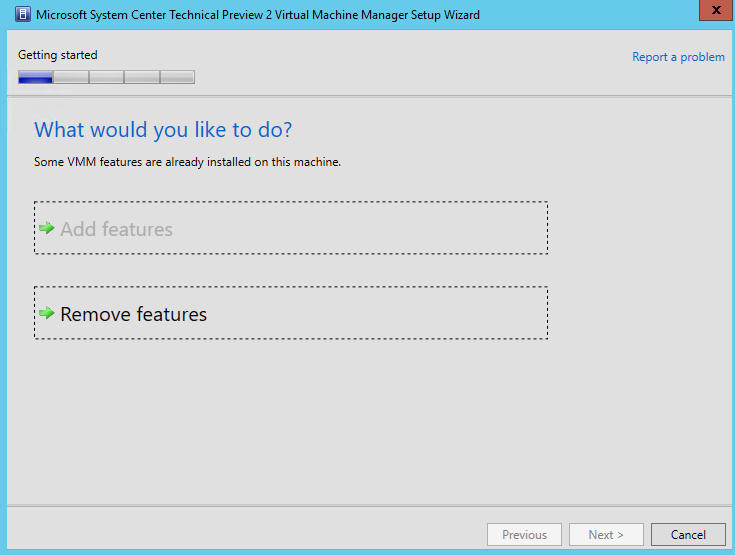
The wizard detects that a previous VMM installation exists. So first I select Remove Features.
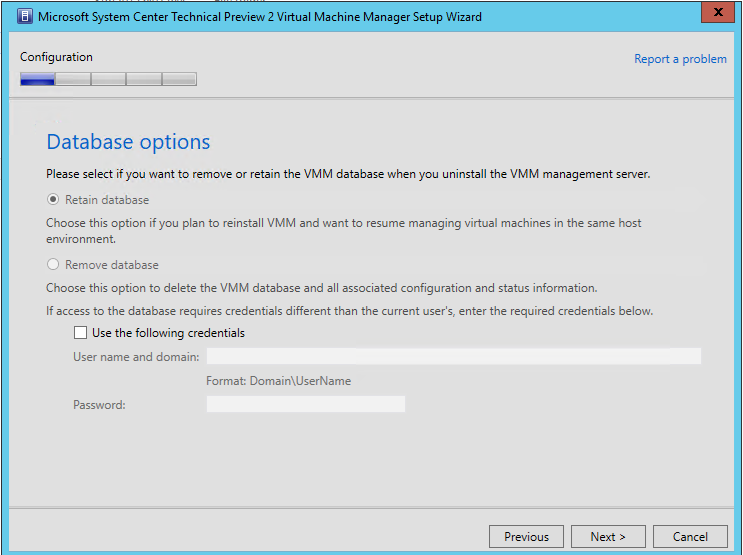
Then I select to retain the database.
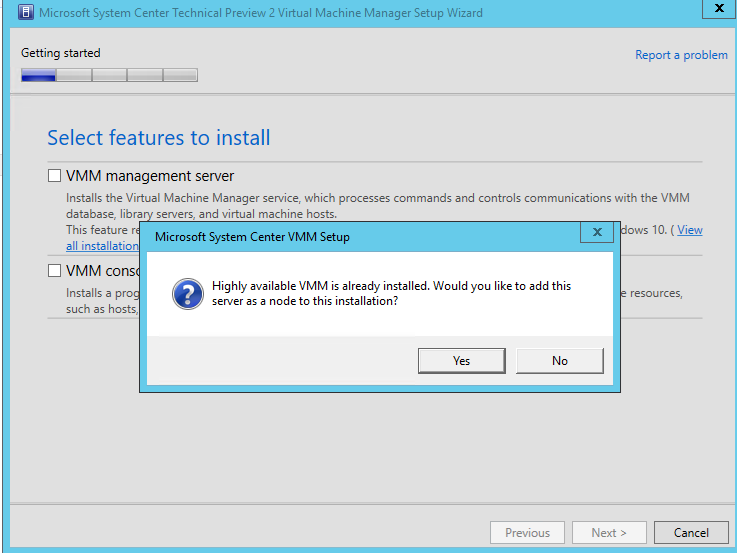
Once the features are removed, I run again the VMM installation. Then I select VMM Management Server and VMM console. The wizard detect that the node is in a cluster.
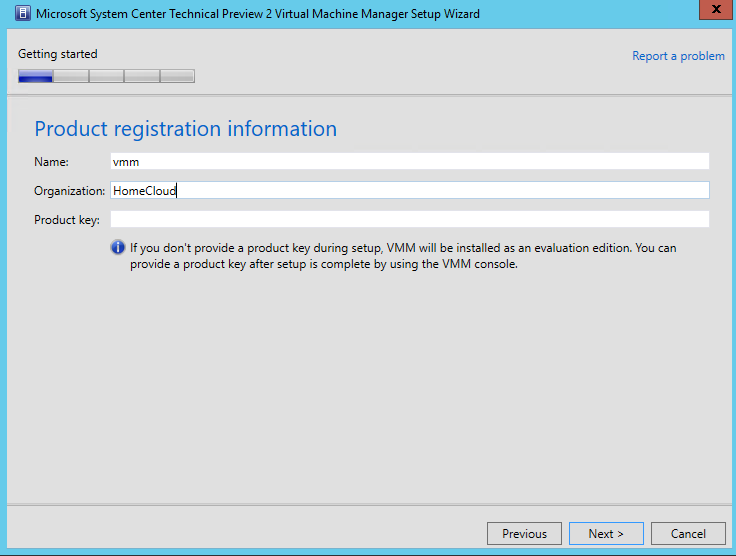
Next I specify product registration information.
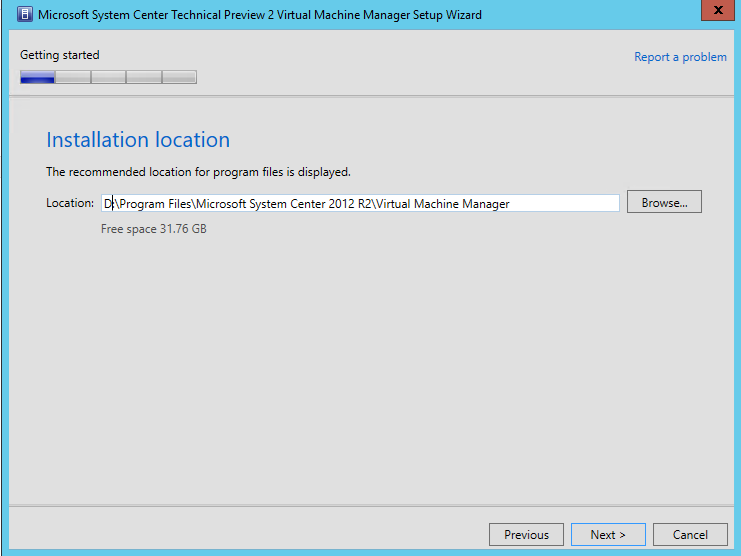
Then I specify the installation location.
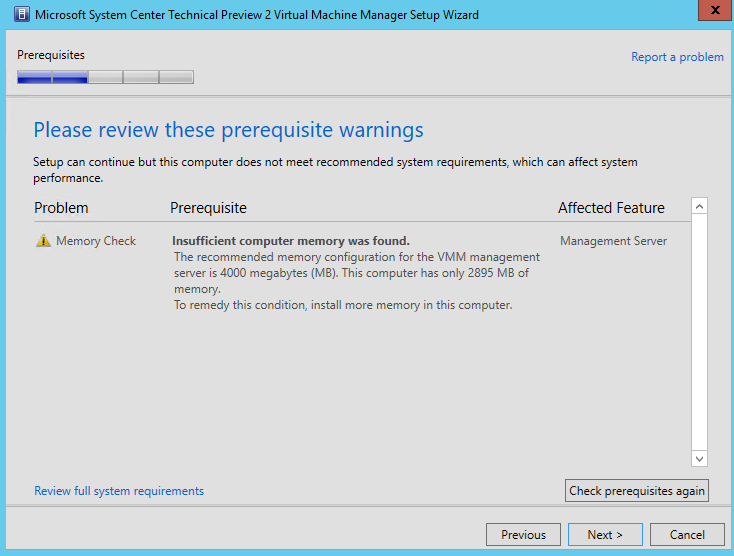
On prerequisites screen, check warnings and errors. If all is ok, just click on next.
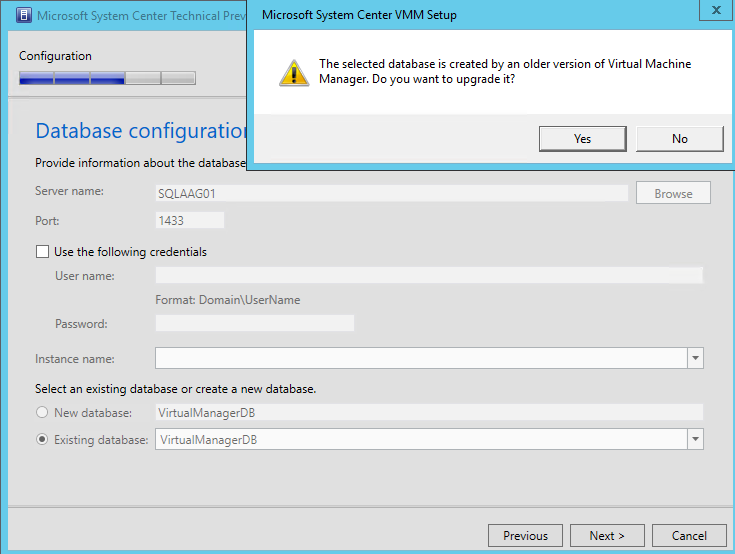
Next provide database information to connect to the VirtualManagerDB. Then the wizard detects “the old” VirtualManagerDB and asks to upgrade the database.
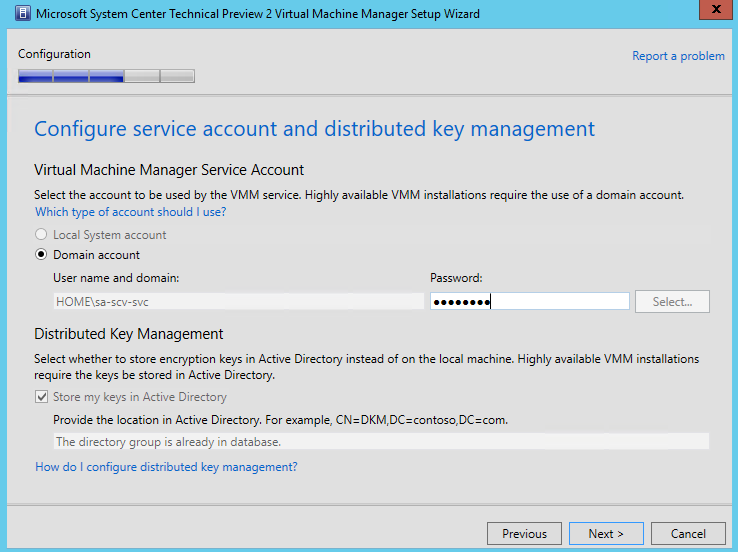
On the next screen, provide the Domain Account password.
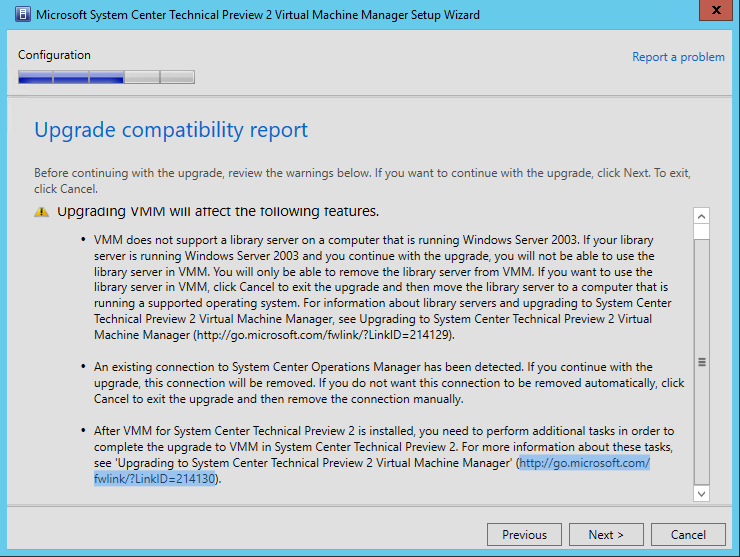
Next you should have an upgrade compatibility report. On my side, the SCOM connector will be removed.
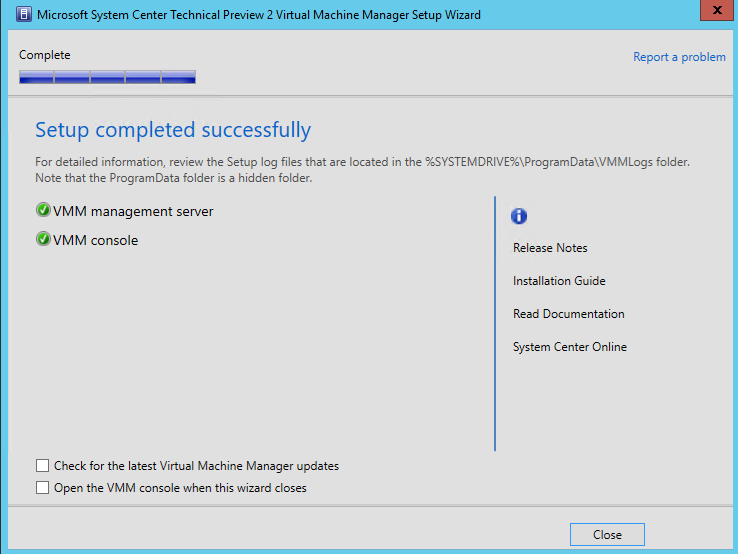
Once the installation is finished you should have something as below.
Now you can switch on the second node.
Upgrade the second node
On the second node, follow the procedure as the first node. On the database configuration, the wizard will not ask you to upgrade the database because it is already upgraded. Now you can start again the vmm role from the cluster.
Add database in availability group
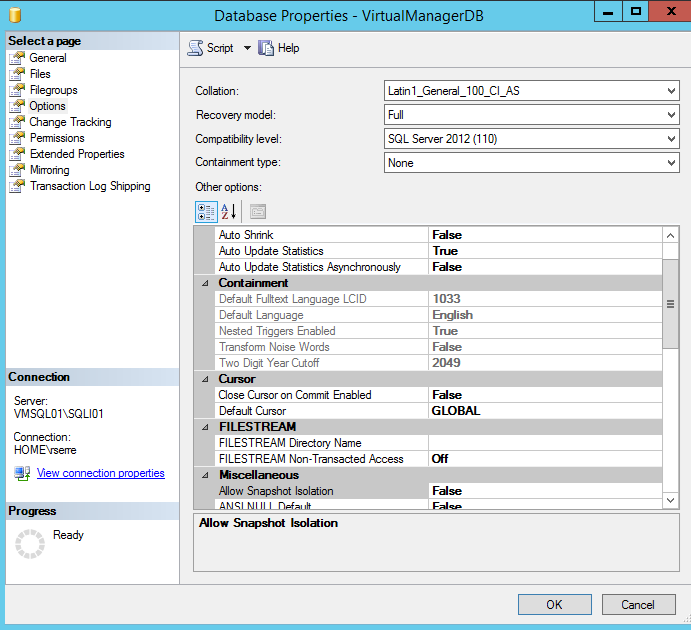
First edit the properties of VirtualManagerDB and navigate to options. Select the full recovery model.
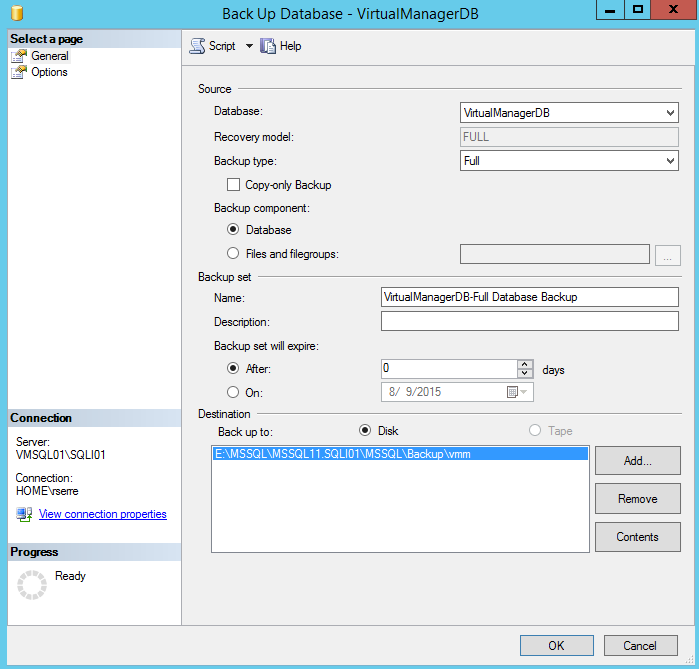
Next make a full backup of the database.
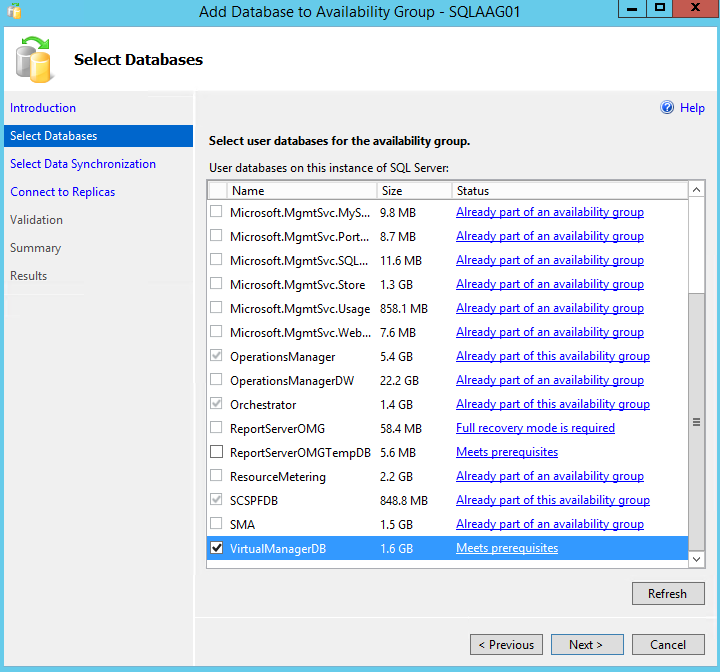
To finish you can add again the VirtualManagerDB to the AlwaysOn Availability Group.
Open the Virtual Machine Manager console
Now you can open the Virtual Machine Manager Technical Preview 2 console and upgrade the agents J.
