Thanks to Windows Azure Pack, we can deploy standalone Virtual Machines or Virtual Machine Roles from the management portal. The Virtual Machine Role (VM Role) enables to deploy virtual machines with pre-configured Windows Server roles as File Server, Domain Controller, Web Server and so on. Moreover when deploying VM roles, it is easy to increase the number of instances that participates to the VM Roles. That means that if you deploy a Domain Controller VM Role, you can increase the number of Domain Controllers from Windows Azure Pack by just modifying a setting.
Some of VM Role resources can be downloaded from the Web Platform Installer. But if you need to make your own VM Role, you should use the VM Role Authoring Tool.
This tool provides user interface to create resource definition and extension packages. Before authoring a VM Role, it is important to understand these packages:
- Resource definition package (*.resdefpkg). This is a template that describes information asked to the tenants from the Self-Portal as VM size, VM Name, forest name and so on. These parameters are used by VMM to deploy the VM Role.
- Resource extension package (*.resextpkg). This is a package that can contain two components:
- The Resource extension file (RESEXT): this is a template that describes how to deploy and configure the resource. Input parameters come from the resource definition.
- The application payload: contains required resources to deploy the application (IIS, Exchange and so on). The resources can be binaries, scripts etc.
The resource extension package is not mandatory. You can deploy a resource definition package in the Windows Azure Pack and deploy the VM Role without an extension package. However no customization will be applied.
Authoring a VM Role
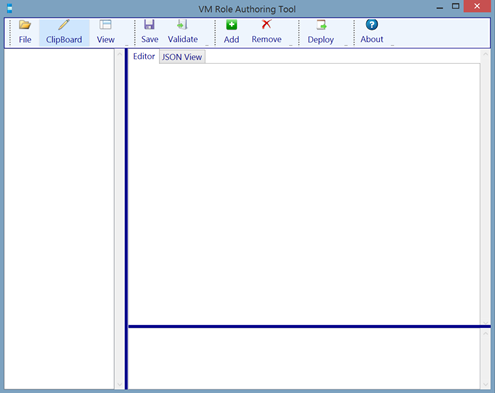
First of all download VM Role Authoring Tool (VRAT). Below you have a screenshot of the VRAT user interface.
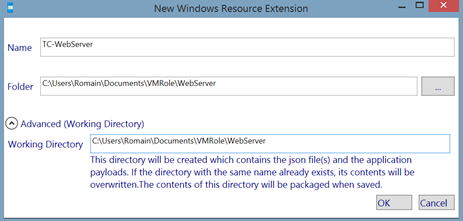
To create a Resource Extension package, click on File and select New Windows Resource Extension Package. I call this package TC-WebServer.
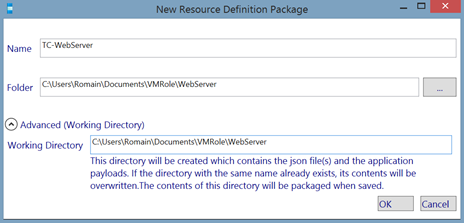
Next I create a Resource Definition package. For that, click on File and select New Resource Definition Package. I call this package TC-WebServer.
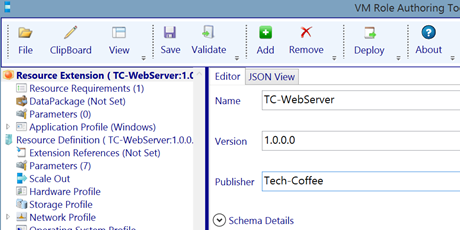
Resource Extension package
In Resource Extension, I change the Publisher to Tech-Coffee. You can manage the versioning by modifying the Version field.
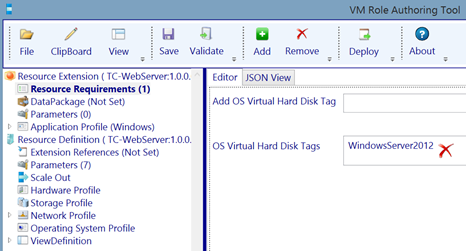
In resource requirements, indicate which tags you have to apply on a VHD to be recognized by the VM Role.
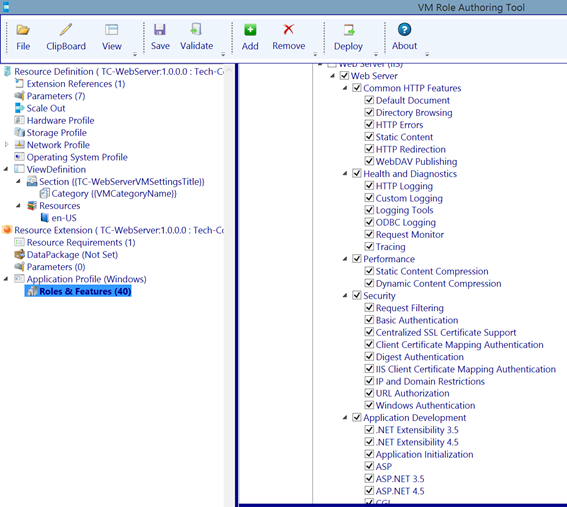
In Roles & Features specify which Windows components will be installed after the VM deployment. I select all Web Server features.
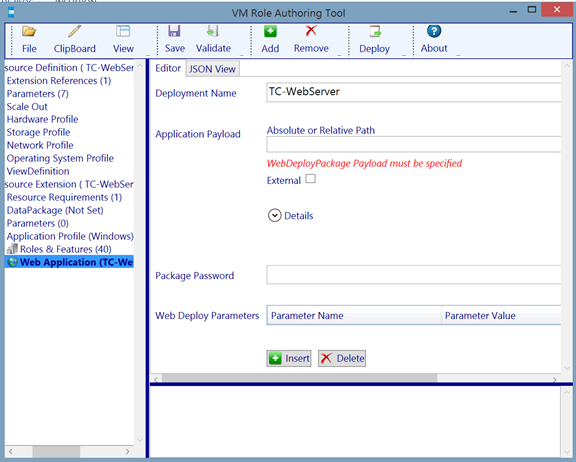
In Application Profile you can add a Web Application to be deployed just after VM deployment. You can also add a SQL Profile for SQL Deployment or just a script application.
Resource Definition Package
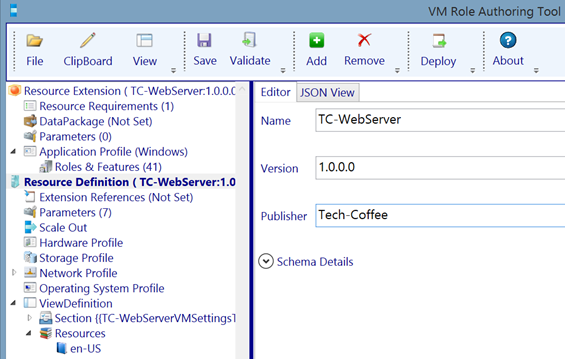
First I change the Publisher to Tech-Coffee. As the Resource Extension Package, you can manage the versioning by changing the Version Field.
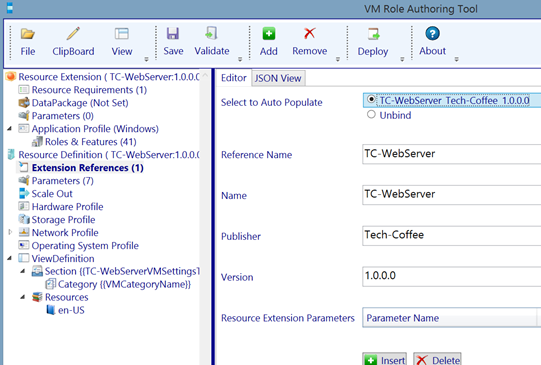
In Extension References, I bind the Resource Definition with the Resource Extension. To make this binding, the name of the resource extension and the resource definition have to be the same.
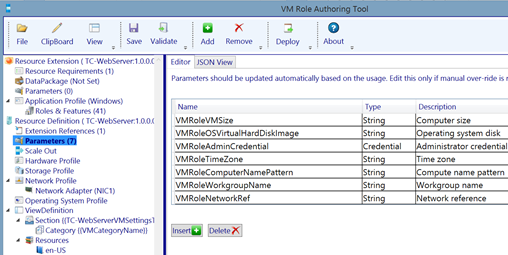
In parameters, there are settings asked to tenants from the management portal.
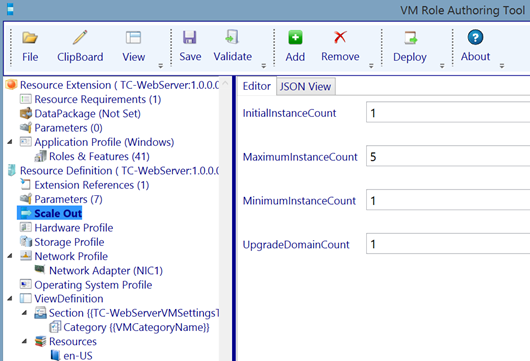
In Scale Out, you can define the minimum and the maximum number of instances per VM Role.
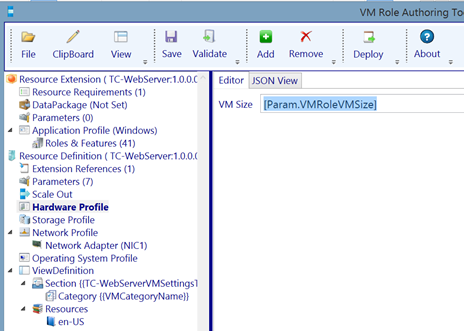
On Hardware Profile you can specify the CPU and the memory of the VM. If you leave the default value as below, the tenant will have a scroll menu with several choices (Small, Medium, Large, A7 and so on) to set the VM size from the management portal.
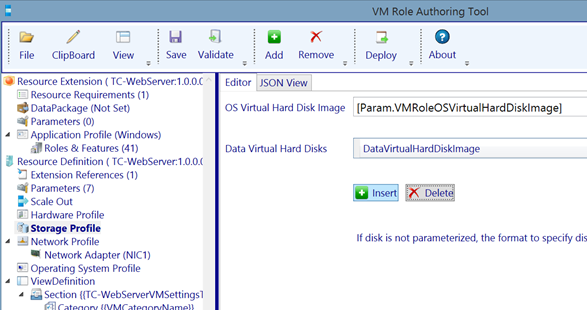
On Storage Profile, you have to specify the VHDX required for the operating system and if needed, optional data disks. If you leave the default setting as below, the tenant will have a scroll menu containing each VHD tagged with the value defined in the resource extension.
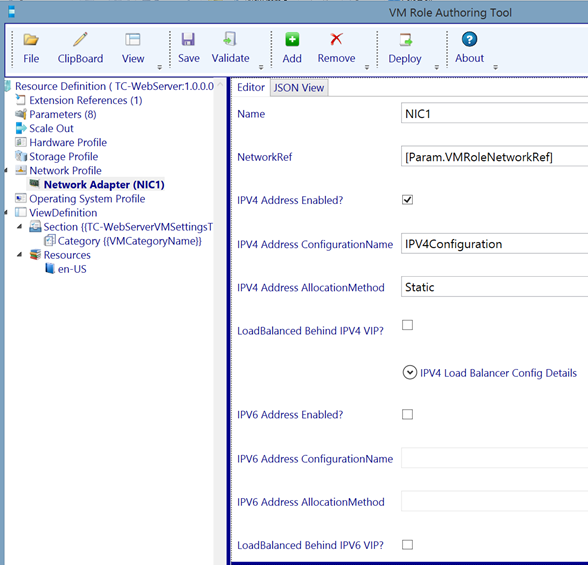
In Network profile, you can configure Network Adapter. You can add or remove Network Adapter if you need more than one. You can configure the allocation method (from the IP Pool or DHCP), the state of IPV4/IPV6 and so on.
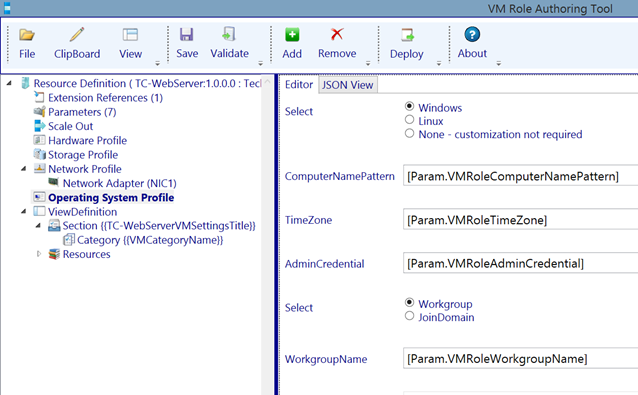
In Operating System Profile, you can customize the operating system. You can specify the Computer Name Pattern, the time zone and the administrator account credential. Moreover you can join automatically a domain. In the below example, these parameters will be set by the tenant from the Management portal when he will deploy a VM Role.
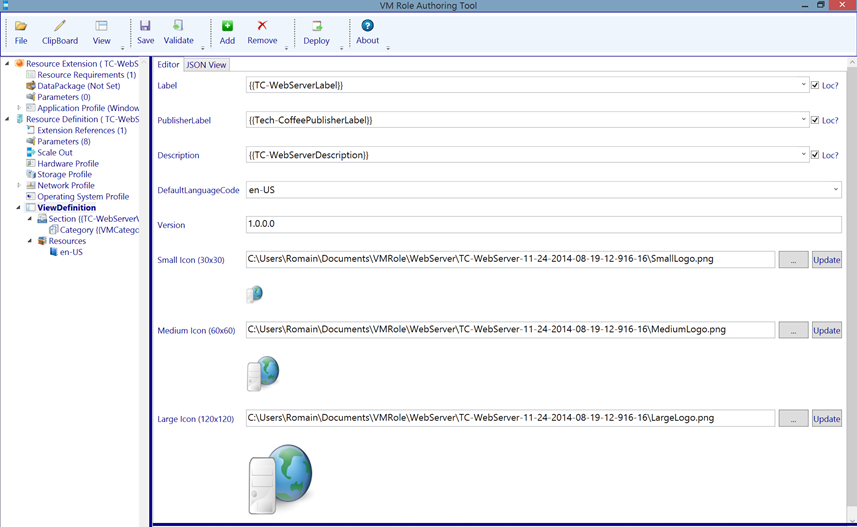
To finish you can add some custom logo for your VM Role. The settings in View Definition will be shown to the tenants in the VM Role gallery.
Once you have finished, you can save both files and close VM Role Authoring Tool.
Deploy the Extension Package
Copy the resource extension package onto your VMM server and run the below script:
## Specify your library share name
$LibraryShareName = "VMMLibrary$"
## Specify the path to resextpkg file
$resextpkg = "C:\Gallery Resources\TC-WebServer\TC-WebServer.resextpkg"
$Library = Get-SCLibraryShare | Where-Object {$_.Name -eq $LibraryShareName}
Import-CloudResourceExtension -ResourceExtensionPath $resextpkg -SharePath $Library -AllowUnencryptedTransfer
Get-CloudResourceExtension
At this point you have imported the resource extension to your VMM. Now you have to prepare your VHDX (mastered from Gen 1 VM):
## Specify your VHDX file name
$VHDName = "Gen1-W2012R2"
$FamilyName = "Windows Server 2012 DataCenter"
$Release = "1.0.0.0"
$Tags = "WindowsServer2012"
$AVMAKey = "Y4TGP-NPTV9-HTC2H-7MGQ3-DV4TW"
$MyVHDX = Get-SCVirtualHardDisk | where {$_.Name –eq $VHDName}
$2K12DC = Get-SCOperatingSystem | where { $_.name –eq '64-bit edition of Windows Server 2012 Datacenter'}
$oTags = $myVHDX.Tag
if ( $otags -cnotcontains $Tags ) { $otags += @($Tags) }
Set-scvirtualharddisk –virtualharddisk $myVHDX `
                      –OperatingSystem $2K12DC `
                      -FamilyName $FamilyName
                      -Release $Release `
                      -Tag $oTags `
                      -ProductKey $AVMAKey
This script adds a family name, a release a tag and the AVMA key in the VHDX.
Deploy the resource definition package
To add the resource definition to Windows Azure Pack, open an administrative management portal and navigate to VM Clouds and Gallery. Click on Import.

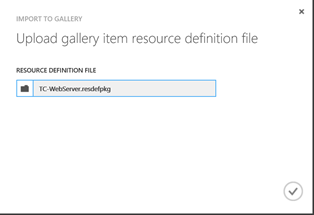
Upload the resource definition package.
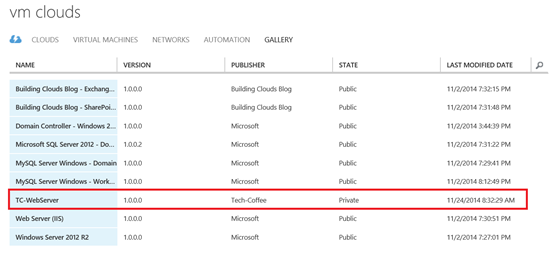
Once the resource definition package is uploaded, a new row should appear with the name of your resource definition package.
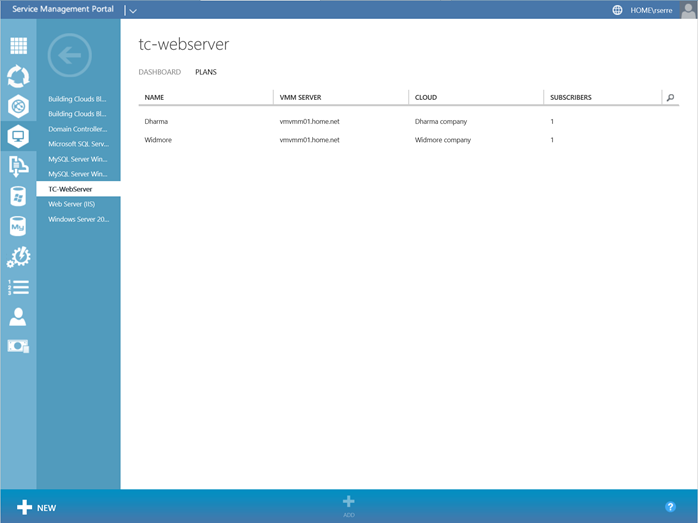
Click on the VM Role and navigate to Plans. Add each hosting plan where you want this VM Role available.
To finish, navigate to dashboard and click on mark public.
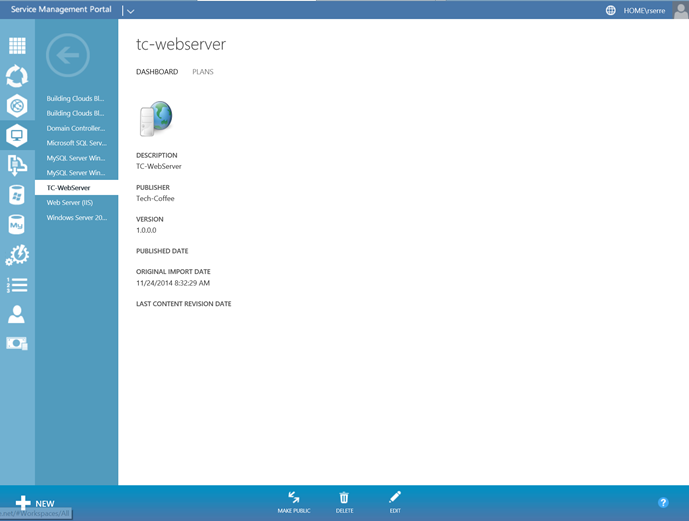
Now the tenant can deploy this VM Role J.
Deploy the VM Role
First connect to the tenant management portal. Click on New, Virtual Machine Role and From
Gallery. Select your VM Role.
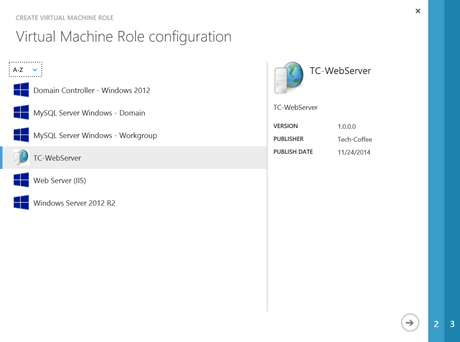
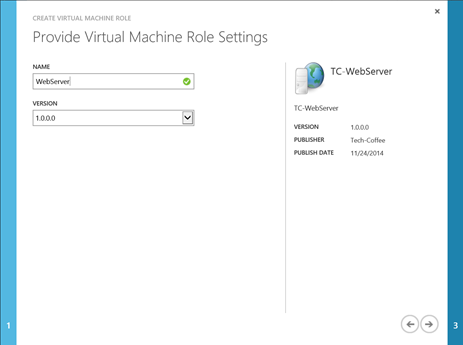
Specify a name for your VM Role.
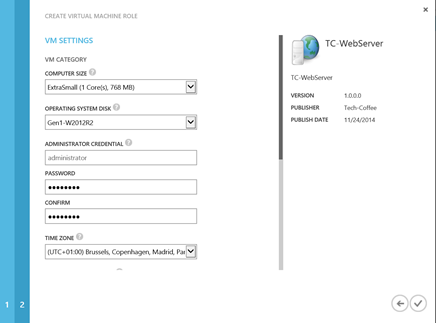
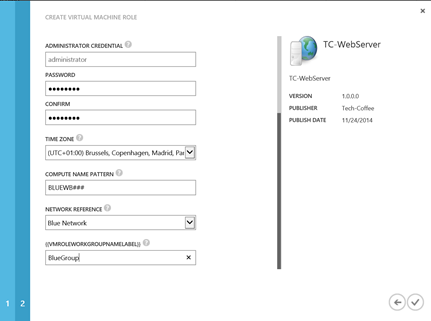
Configure each settings. As you can see, these parameters are the same than I have specified in the resource definition.
Oups the WorkGroup label is malformed (VMRoleWorkGroupNameLabel). I will correct that in the resource definition package.
Once you have validated, the VM Role is provisioning.
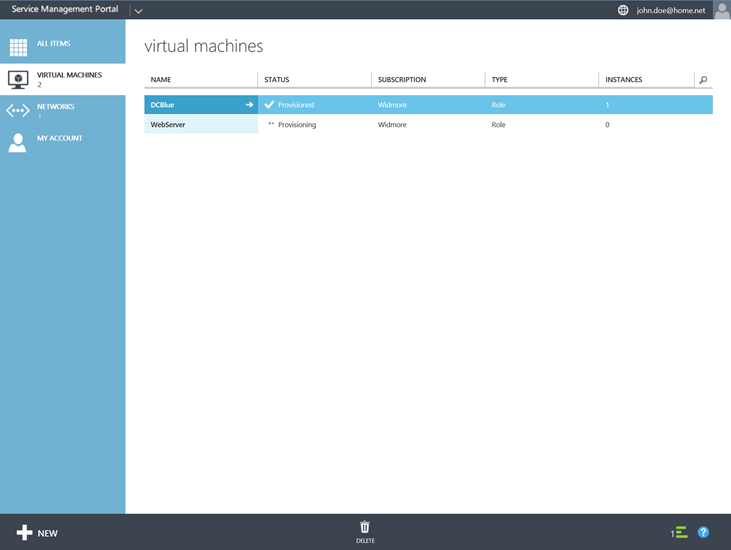
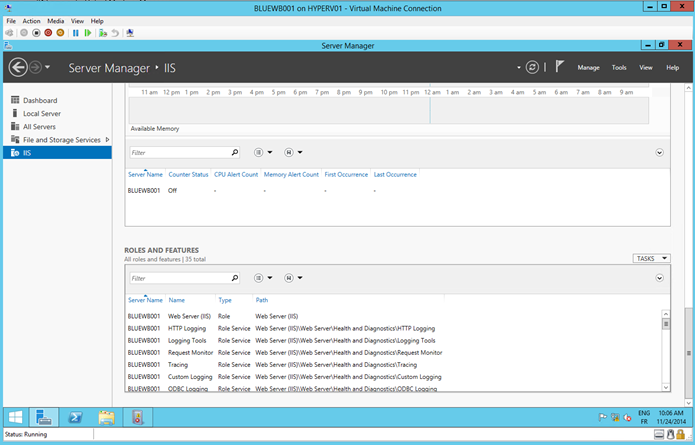
Once the VM is created, we can see that each selected Windows Server role in resource extension package are installed.
To make an advanced VM Role, external scripts will be required. For example the Domain Controller VM Role available on Web Platform Installer enables to create a new forest but not to add domain controllers to the domain when the instance number is increased. So it is necessary to add a script that verifies if the domain exists and so add the domain controller to this domain.
If I have the time, I will try to create a Domain Controller VM Role to manage thatJ.



very good article. It answers the questions about vm roles gallery items in my head. Solved a bunch of trouble. Thank you
Thank you 🙂